Bedroom Makeovers for Pre-Teens
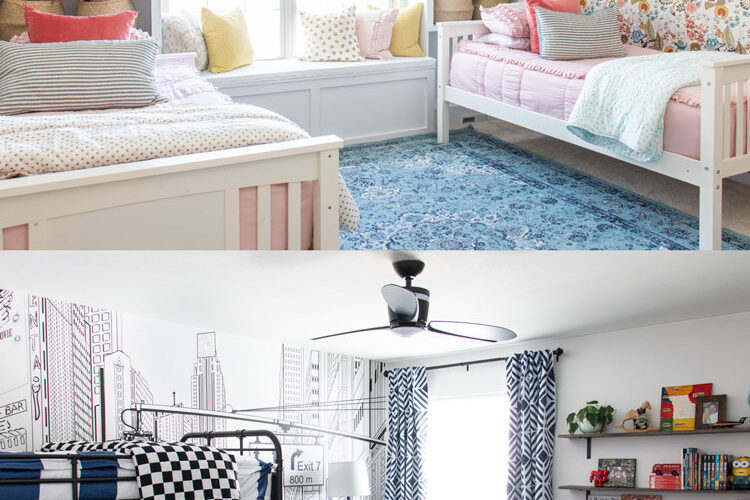
A few months ago, I embarked on a project for a deserving local family who had recently adopted three siblings. With some help from The Home Depot, I was able to complete two room makeovers in only six weeks.
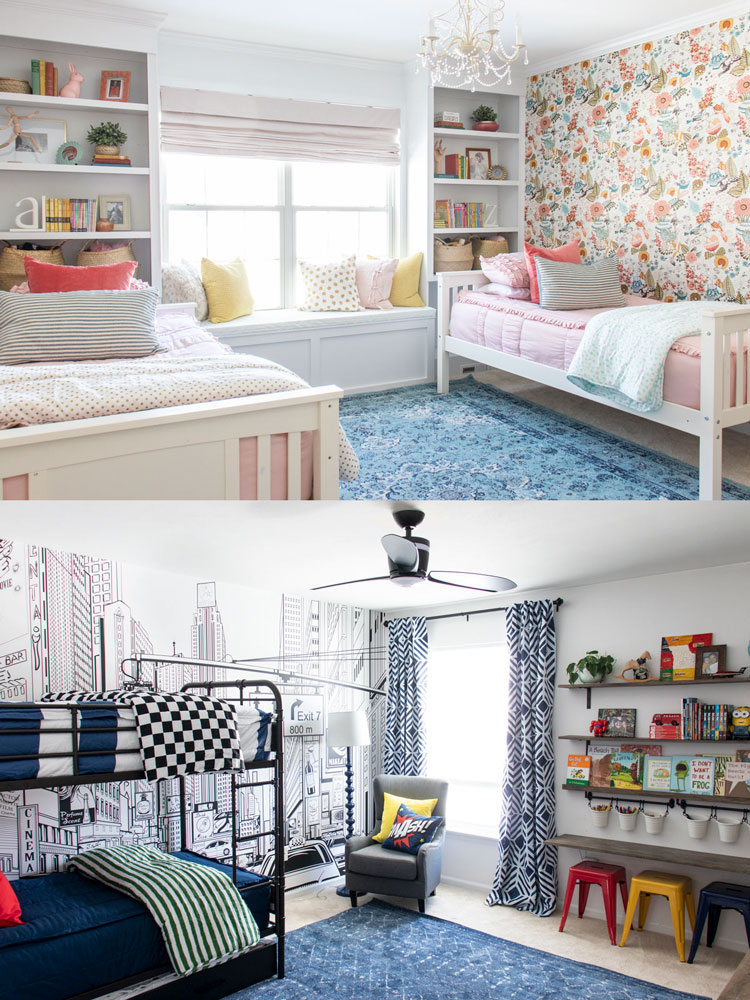
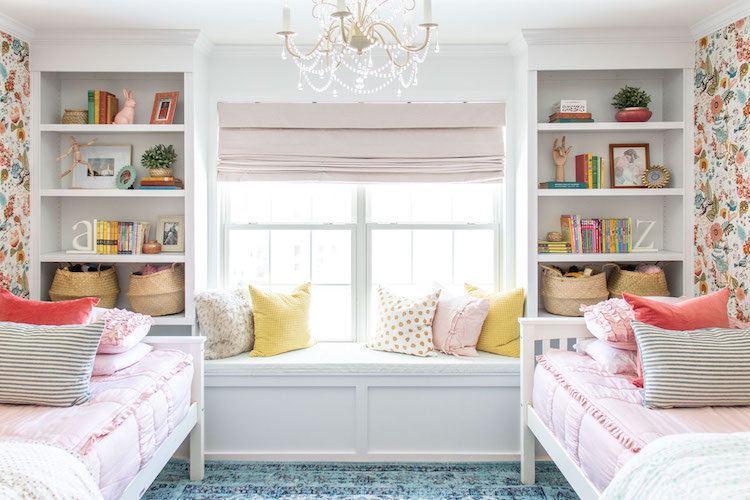
The basic builder’s grade girls’ bedroom now features built-in bookcases, a window seat and statement wallpaper. The boys’ shared room features shelves with a desk, a trundle bed under a bunk bed, and a reading nook. Their rooms hardly look the same anymore and it now suits the children’s interests and storage needs much better.
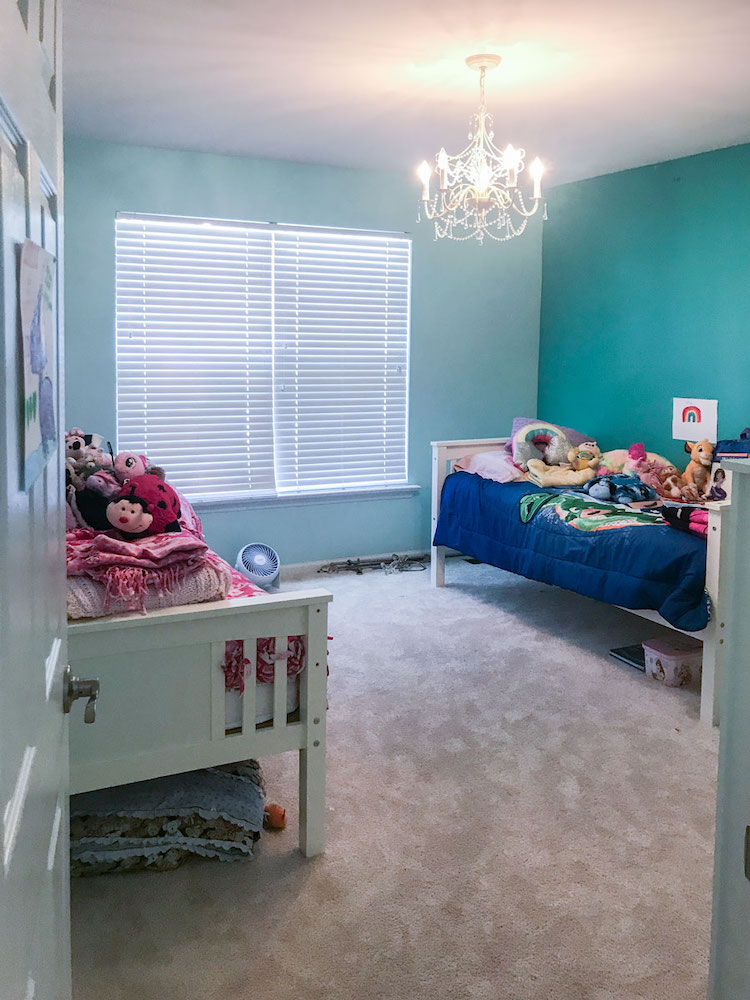
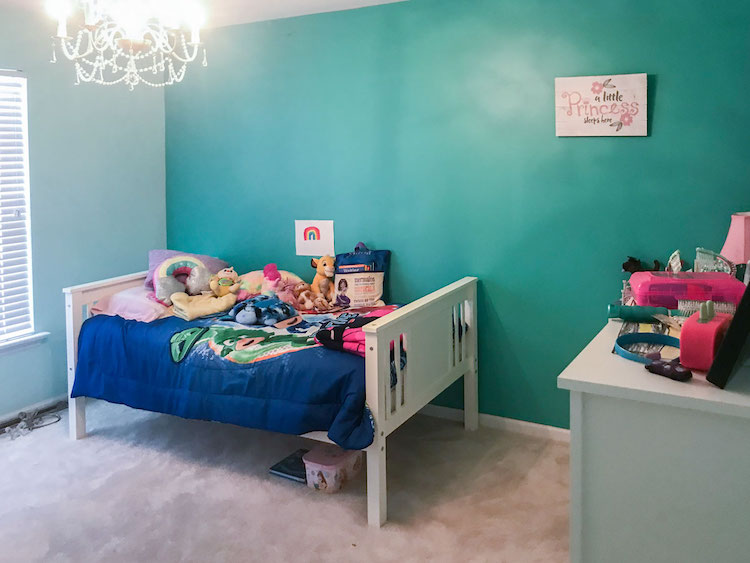
The Girls’ Room Before
The girls’ room started out with two-tone turquoise walls, a window only covered by blinds, two beds covered with stuffed animals, a small bookcase at the end of one bed, and a small dresser.
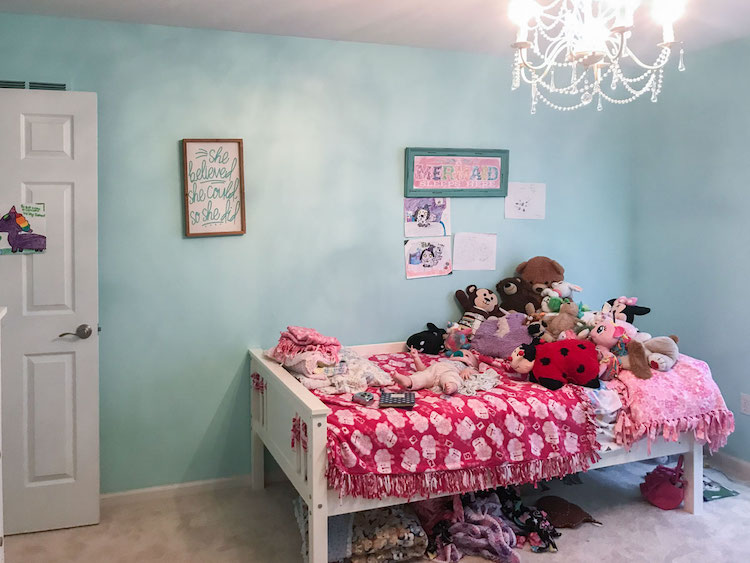
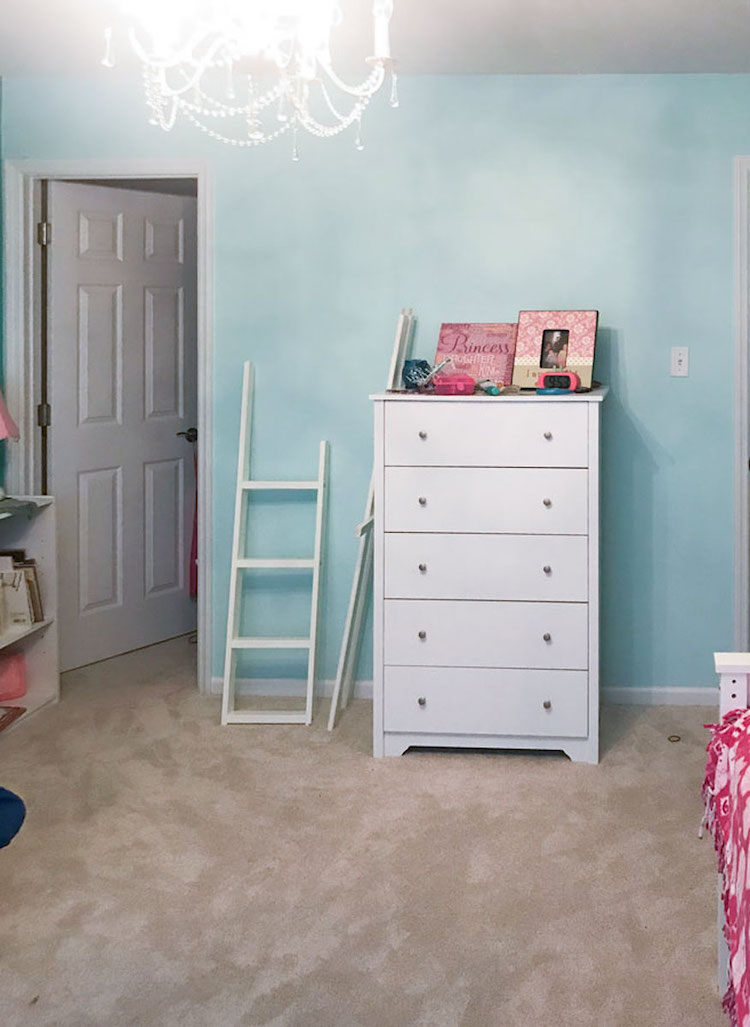
The Design Plan
After speaking with their mom, the goal for the girls’ room was to create a space where they could read, relax, and sleep. We also wanted the space to provide storage for books, stuffed animals, and clothes.
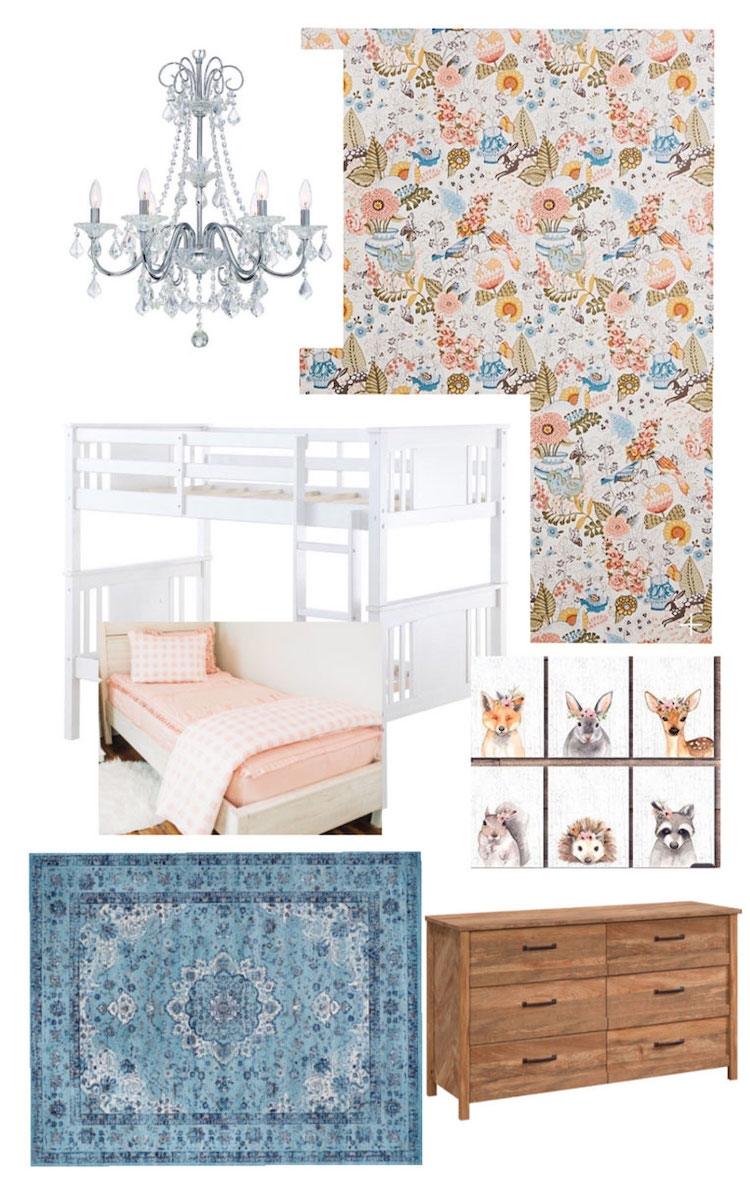
With a limited budget, I needed to be strategic on what I would buy, what I could make, and what we could use that they already had. For the girls room, I created a design board that would keep the beds they had, and keep the chandelier. The new room would feature colorful, woodland wallpaper, woodland animal art, a beautiful dark teal rug, and a rustic, natural wood-tone dresser. I would also be building a set of bookcases and a window seat around the window.
The Built-Ins and Window Seat
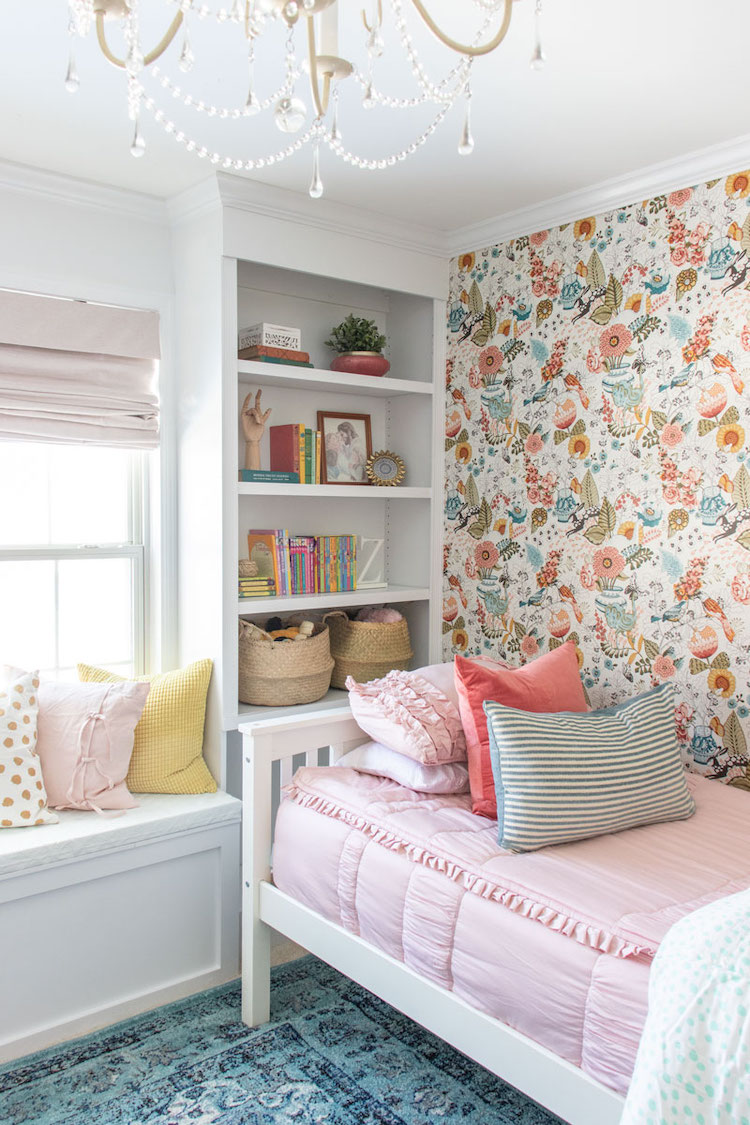
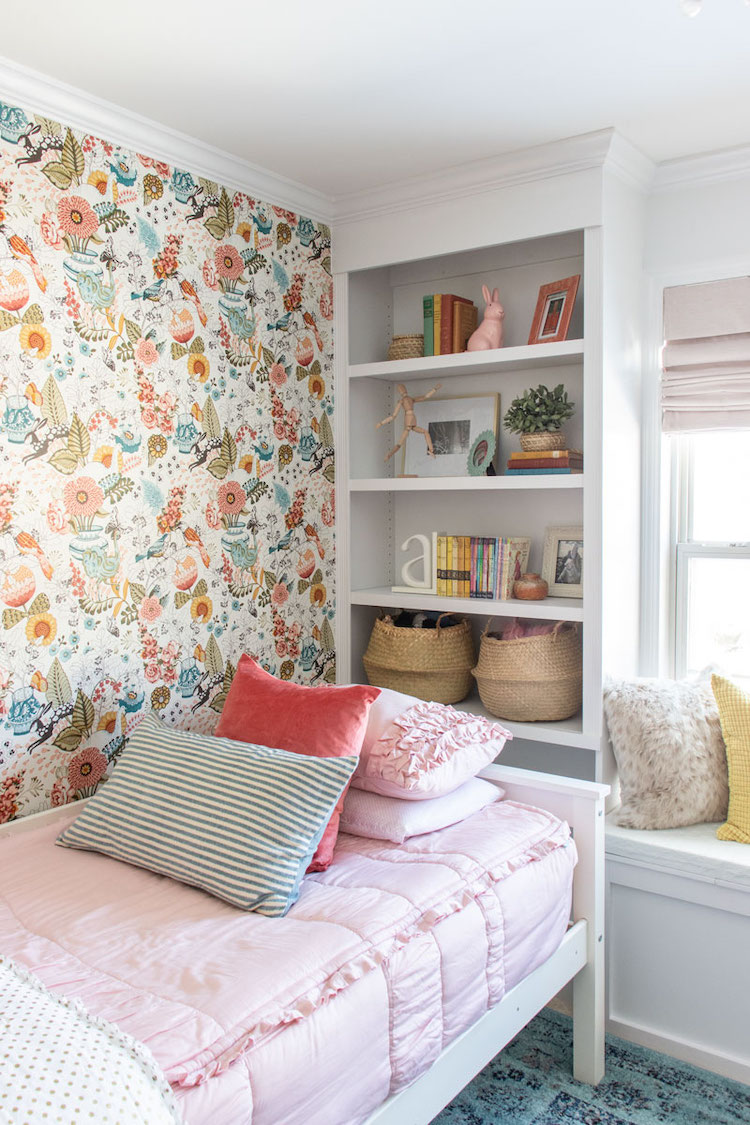
I started by creating the feature wall, which was the built-in bookcases and window seat. I knew this addition would add so much storage and character to the room, as well as provide a special spot for the girls’ to read. I built the bookcases and window seat out of MDF, attached them to the studs in the wall, then finished them by using pine trim on the edges, and painting everything with white semi-gloss paint.
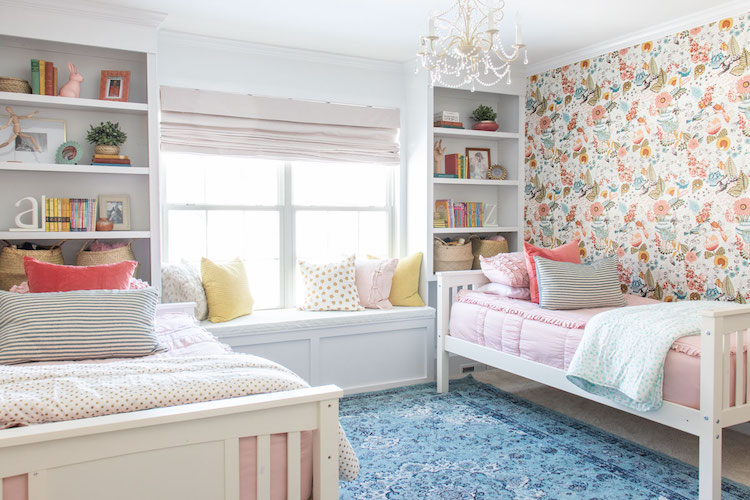
I added crown moulding to finish off those bookcases, which had to be continued around the room of course!
The Wallpaper
The wallpaper is whimsical and full of color and was applied to both walls adjacent to the bookcases to create a symmetrical look. This wallpaper was the glue-on type which was quite easy to install. I rolled on the wallpaper adhesive over the section of the wall where the first vertical ‘row’ of wallpaper would go. After making sure the wallpaper was level, I smoothed it over starting from the top, working down. I cut it with a utility knife where it met the baseboard (I used a putty spatula to guide my cuts). The next ‘row’, I made sure to line up the pattern and just cut each piece as I went.
Additional Storage
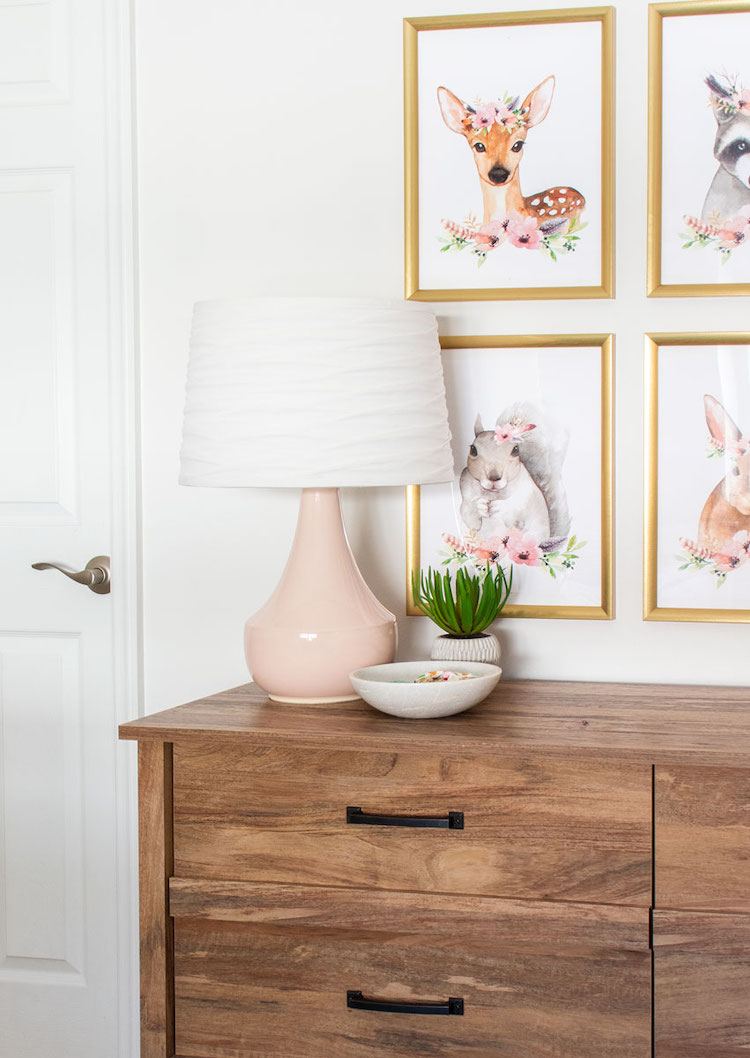
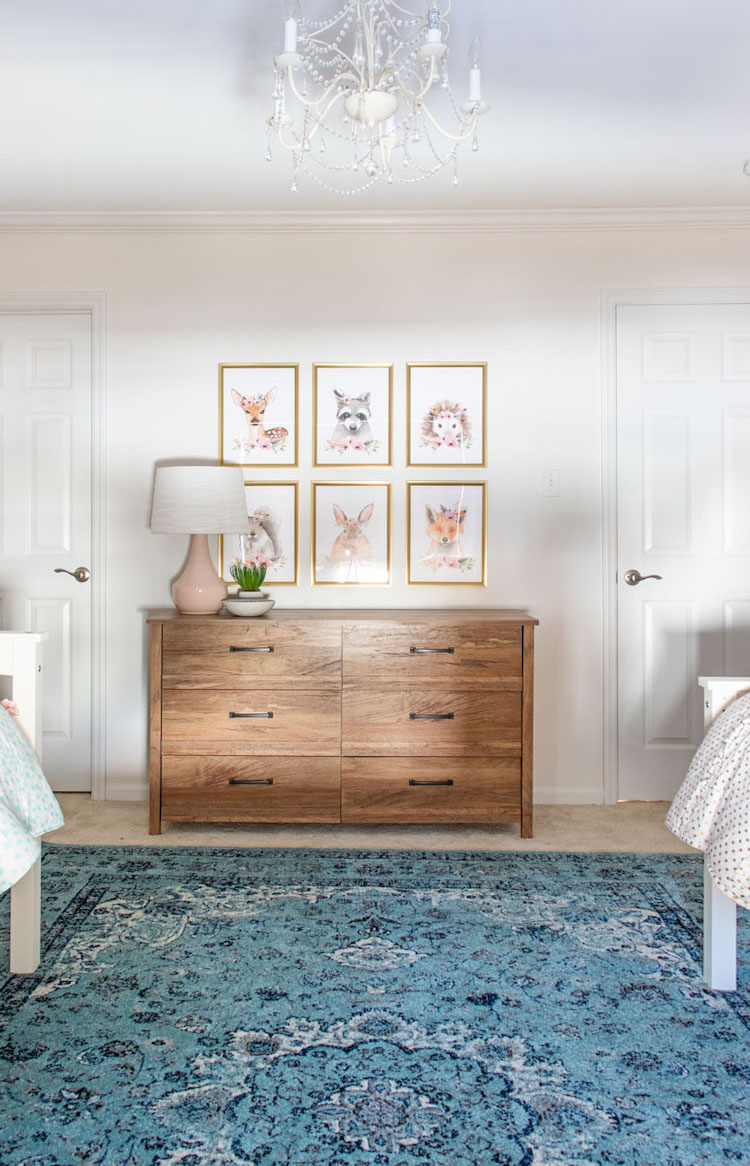
To provide additional, practical storage, we incorporated this beautiful, natural wood, long dresser. This also allows art to be displayed above it and a lamp for some ambient lighting besides the overhead chandelier.
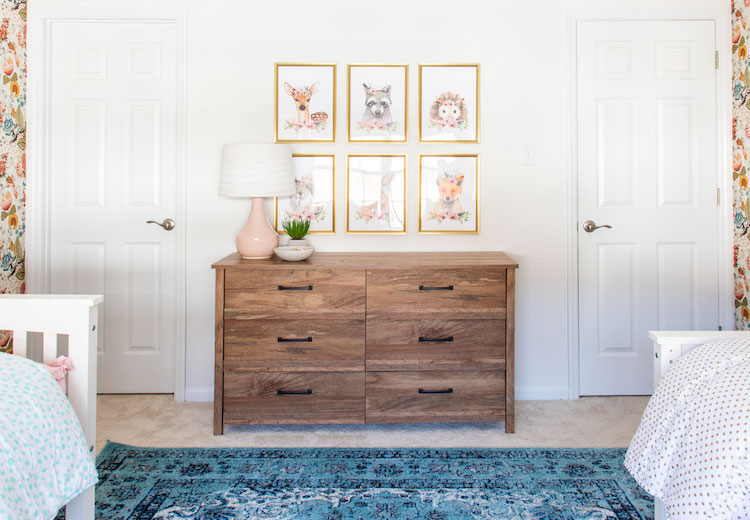
The last key component to bringing in the turquoise blue that both girls loved, was the addition of this traditional rug. The colors in the rug are vibrant and coordinate with the wallpaper, but are still versatile to grow with them as their style evolves.
The Boys’ Room Before
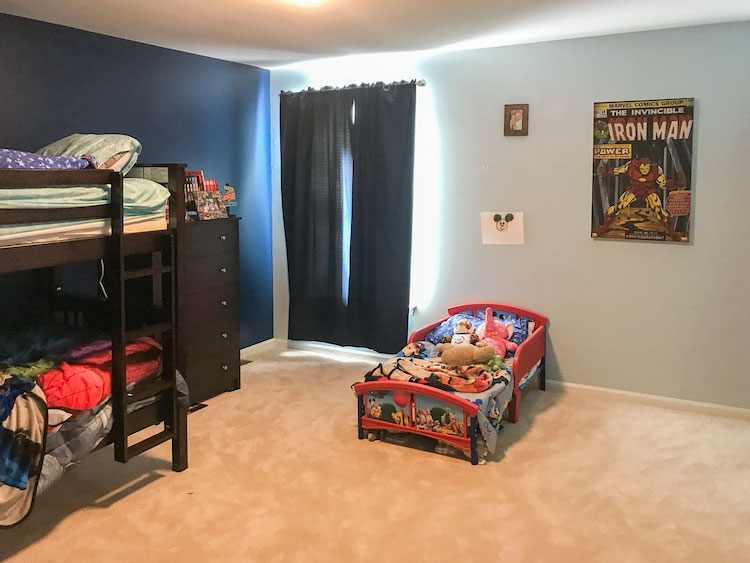
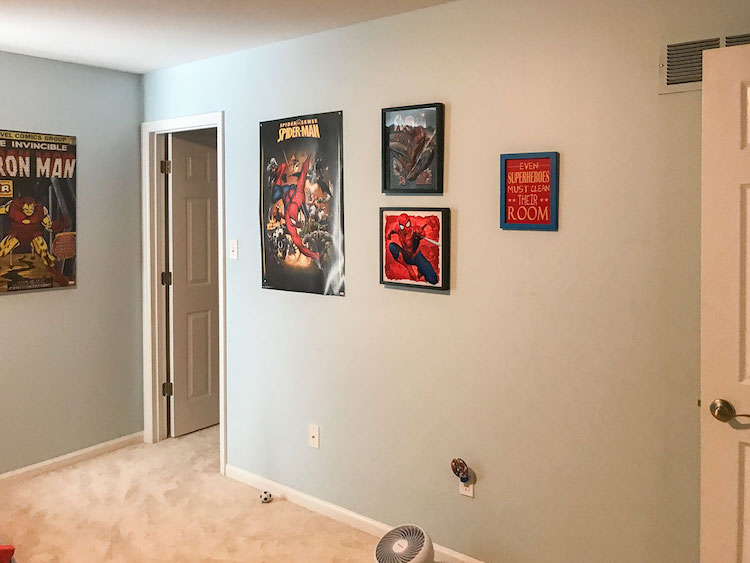
The boys’ shared room started out with light blue walls, a navy blue accent wall, and dark blue curtains.
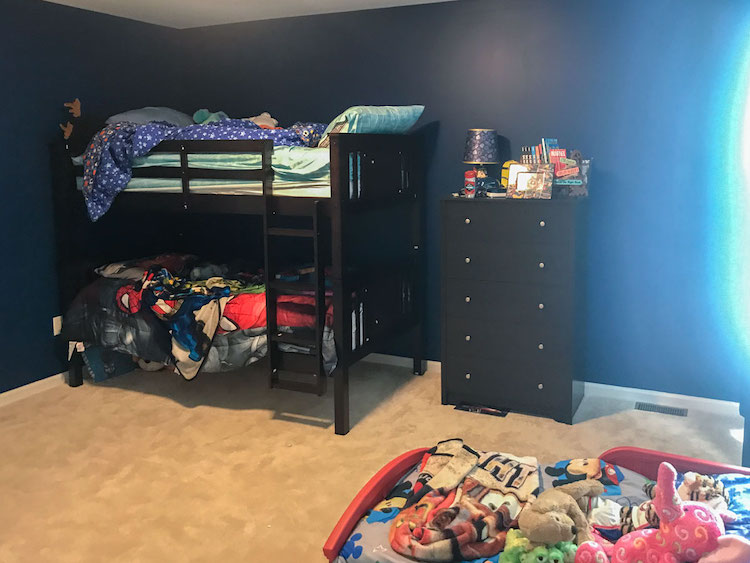
The Design Plan
All three boys that share this room love super heroes, so that was the obvious choice for the theme. However, I wanted to create something that would also resonate with them as they grow older.
I wanted to maximize floor space, so I knew I would be adding a trundle bed below the bunk bed. I needed to create an accessible place to hold books, and have a comfortable place to read.
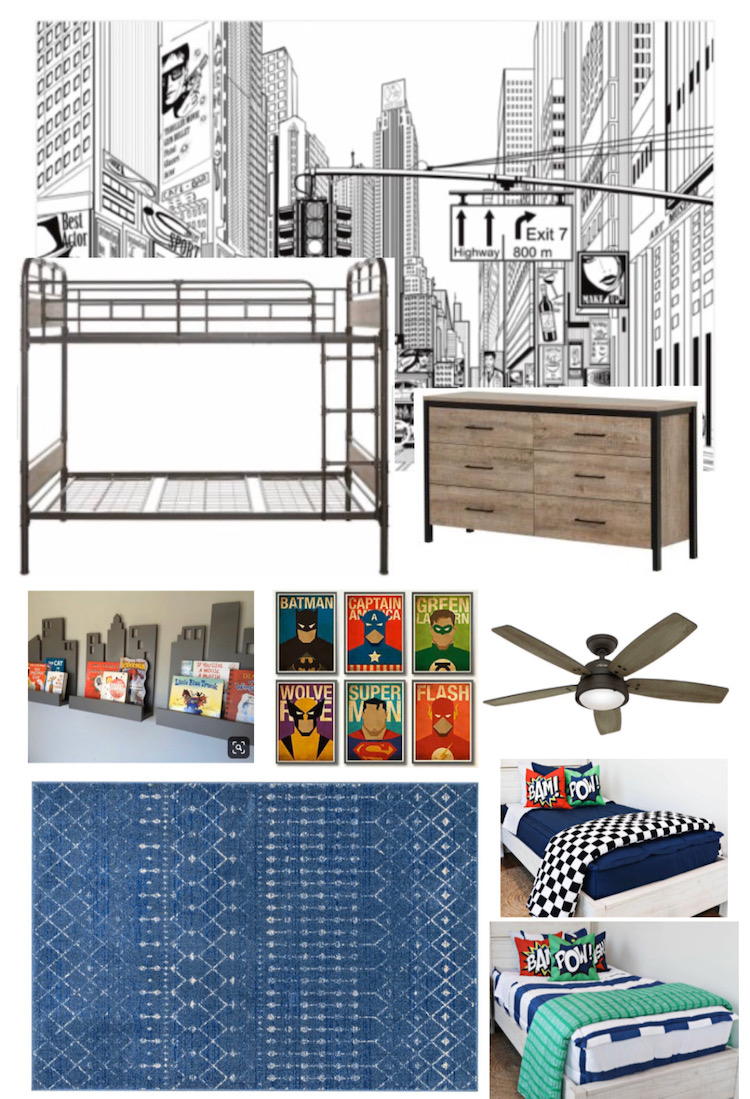
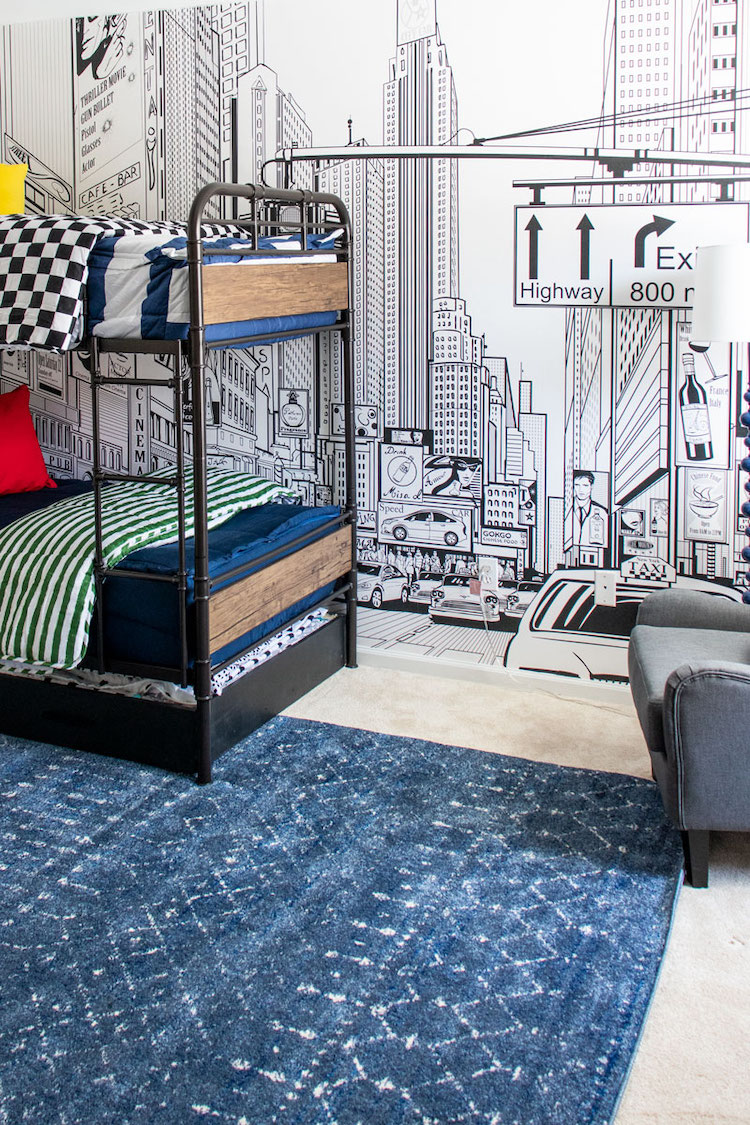
The design plan I came up with included a graphic wall mural, an industrial bunk bed that would fit in with the theme of the mural, a large rustic modern dresser, shelves on the wall to hold books, a large modern blue rug, a new ceiling fan and lots of bold color brought in by super hero framed art, bedding and shelf decor.
The Super Hero Theme Boy’s Room
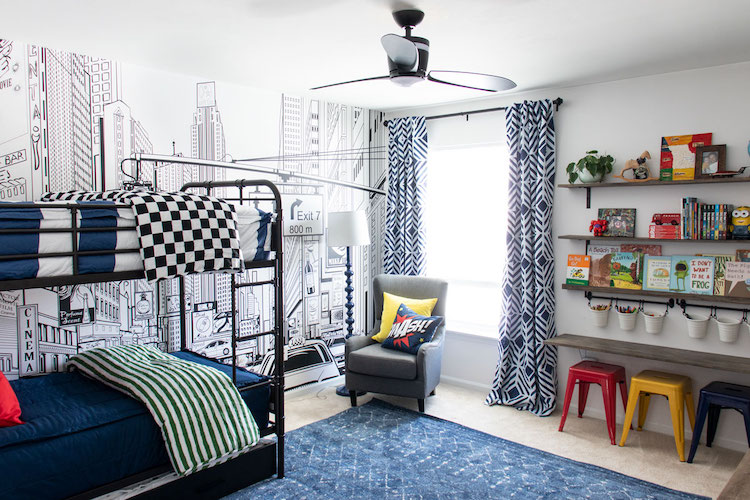
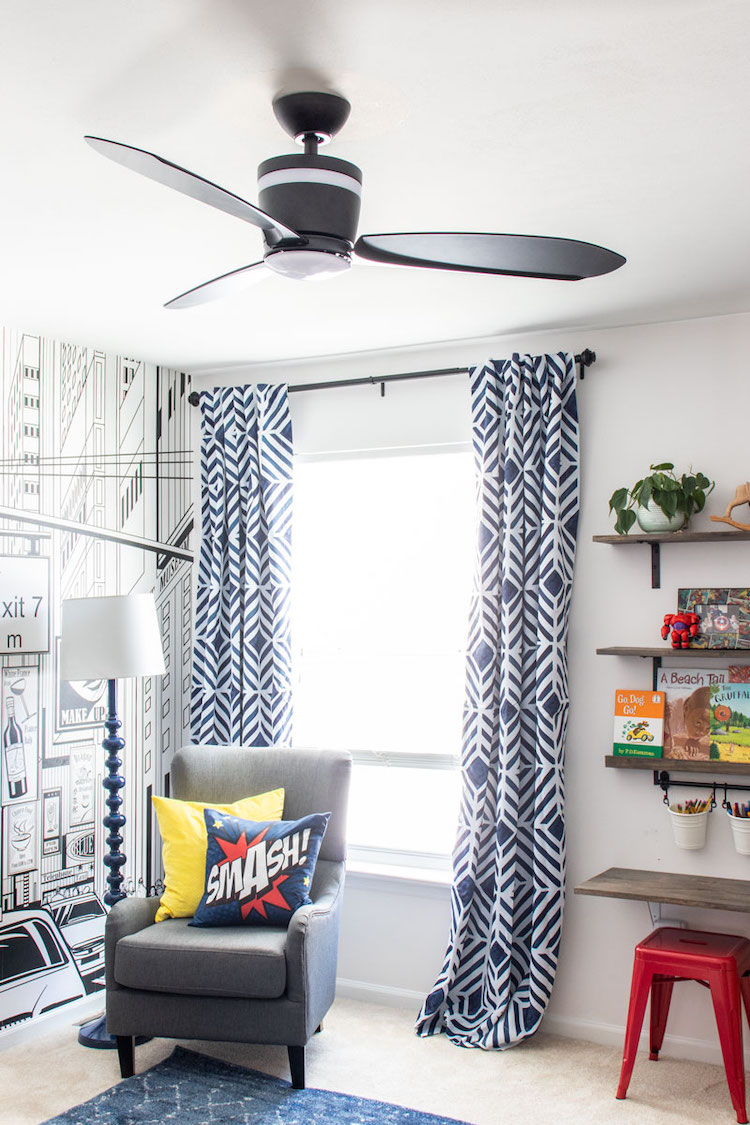
We started out by putting up the wall mural, then we installed this matte-black ceiling fan. Besides offering two different types of light (one near the base that is a more diffused light, and one by the blades for more direct light), it also eliminated the need for the portable fans they had previously in this room.
The Trundle Bed
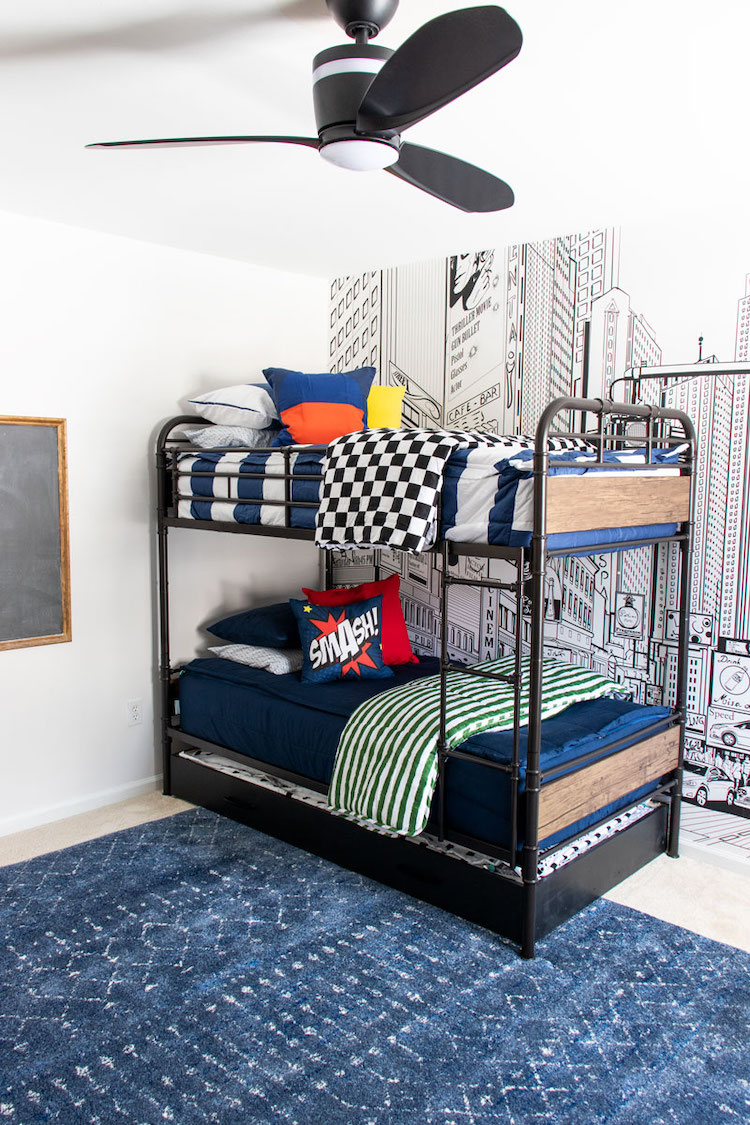
We swapped their bunk bed for this industrial, metal one with wood accents. I love how sturdy it is. The wood veneer footboards match the other stained wood elements in the room.
You can see we built the trundle bed (using plywood and 1x8s, and caster wheels) , which I painted black to match the bed.
The Reading Nook
I put a comfortable armchair by the window with a floor lamp so they could have a place to read. There is also ample space between the bunk bed and this chair so they could later add some floor cushions if they want some additional cozy places to read.

The window got new black-out curtains that we hung higher and wider which help the windows appear larger and the ceiling taller.
A Place to Create
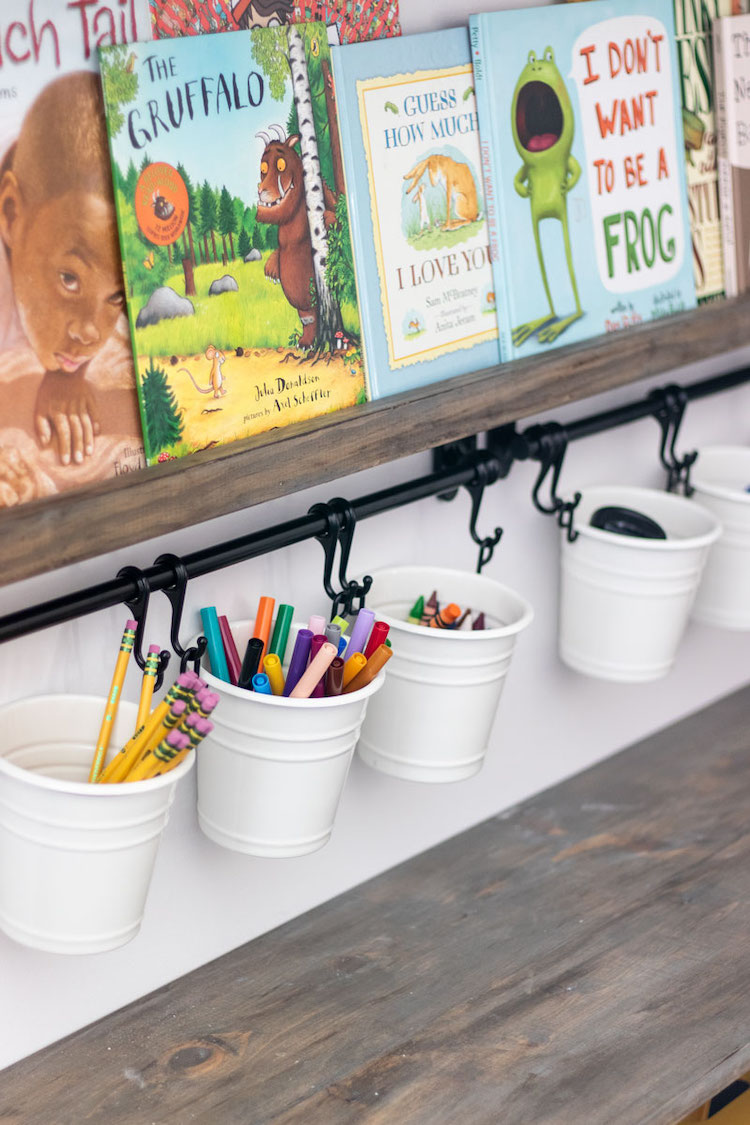
My favorite part in the boys’ room is this little shelf and desk area. I stained a few boards, attached spray painted brackets and screwed them into the wall studs. I love how this displays books, a few toys, art, and some frames.
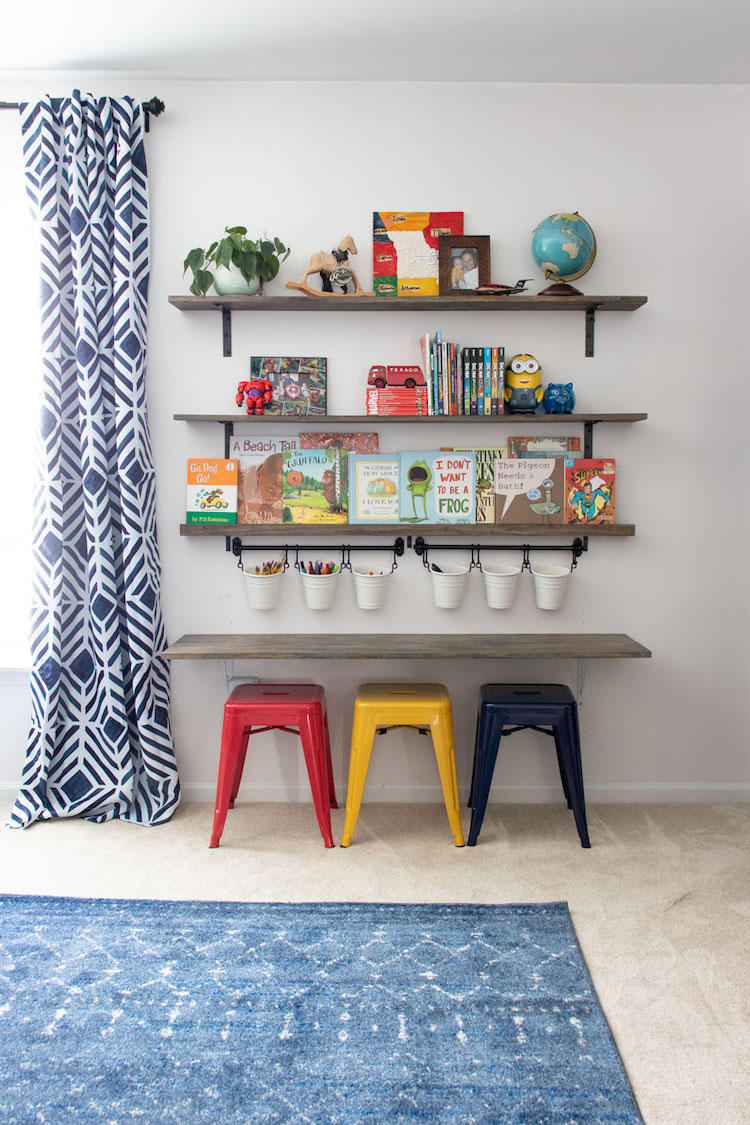
The kids love having this little place to create complete with crayons, markets, glue sticks, and scissors at an easily accessible place.
I put these three metal stools in primary colors below the desk and they are the perfect size!
Additional Storage
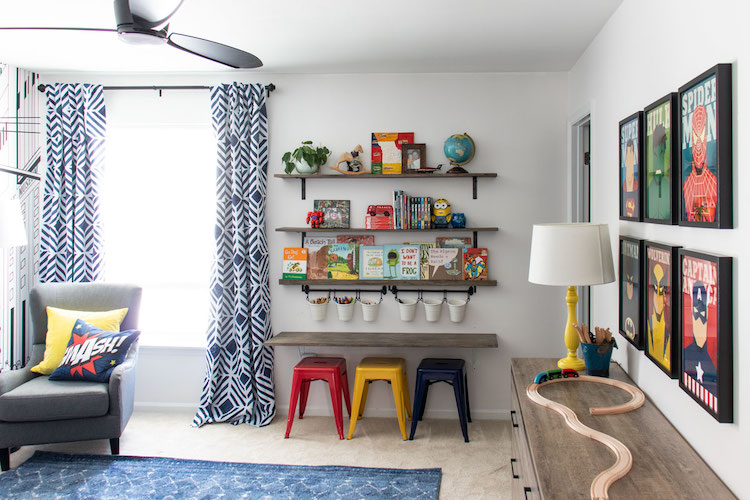
On this last wall, I placed this beautiful, wood veneer dresser which has a rustic modern design. This long, low dresser gives them nice deep drawers and wide surface to place a lamp (thrifted and spray painted yellow) or decor. It also provides wall space above to put up pictures of their favorite superheroes.
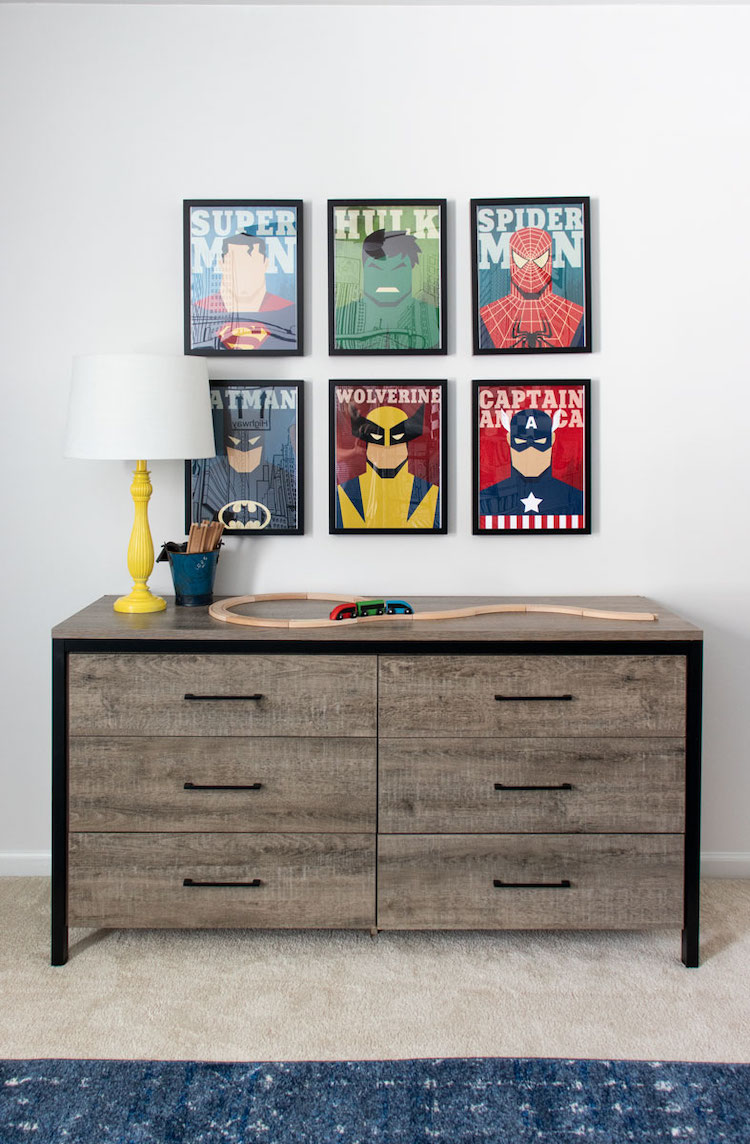
Finally, we brought back into the room that bold deep blue they love with this navy moroccan patterned rug. This area rug really grounds the space and connects all the furniture. The rugs aren’t very thick so they don’t interfere with ease of vacuuming or furniture height, butthey are substantial enough to not curl up or get wrinkled.
I hope you loved the result of this makeover as much as I did! With the help of family and friends, we were able to give this deserving family two beautiful rooms for their adopted additions that they will hopefully enjoy for years to come!
The post Bedroom Makeovers for Pre-Teens appeared first on The Home Depot Blog.


