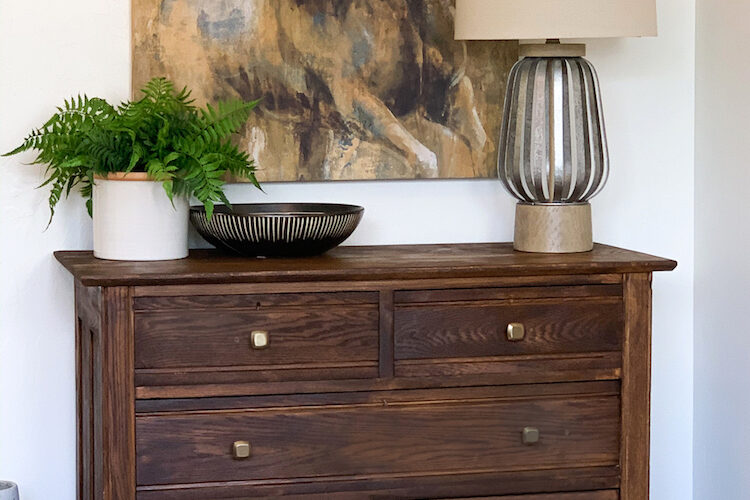
Dresser Transformation with Varathane Premium
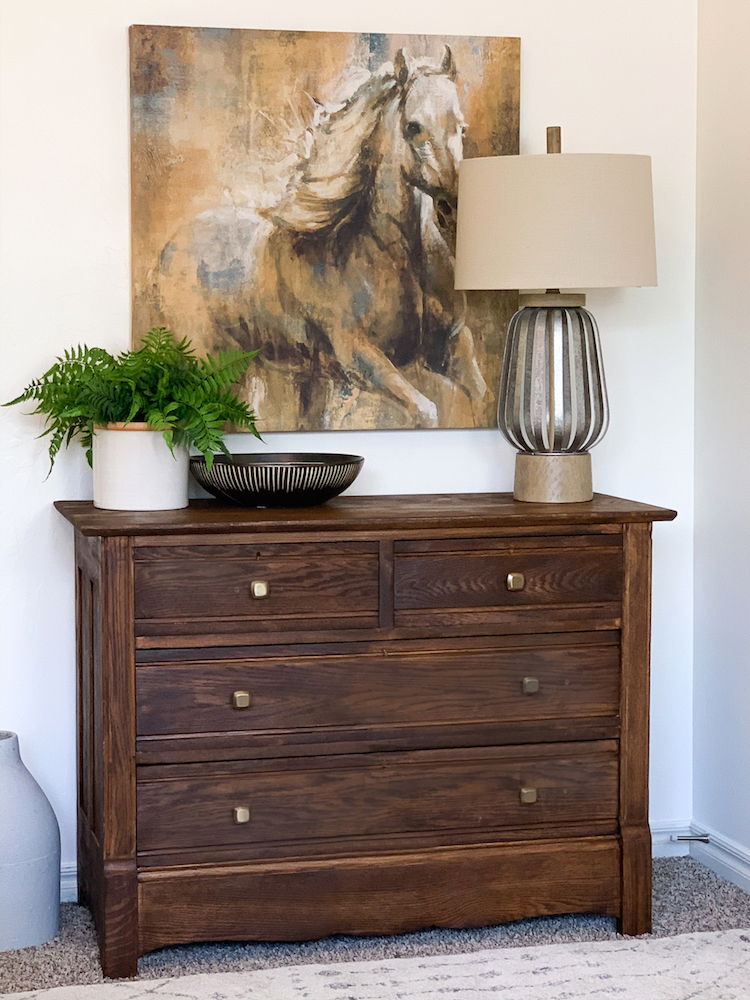
Who doesn’t love bringing a furniture piece back to life? When I first started blogging, furniture repurposing was actually how I got started. Refreshing a piece always brought me a sense of enjoyment, so I was super excited to take it back to my roots and transform this dresser.
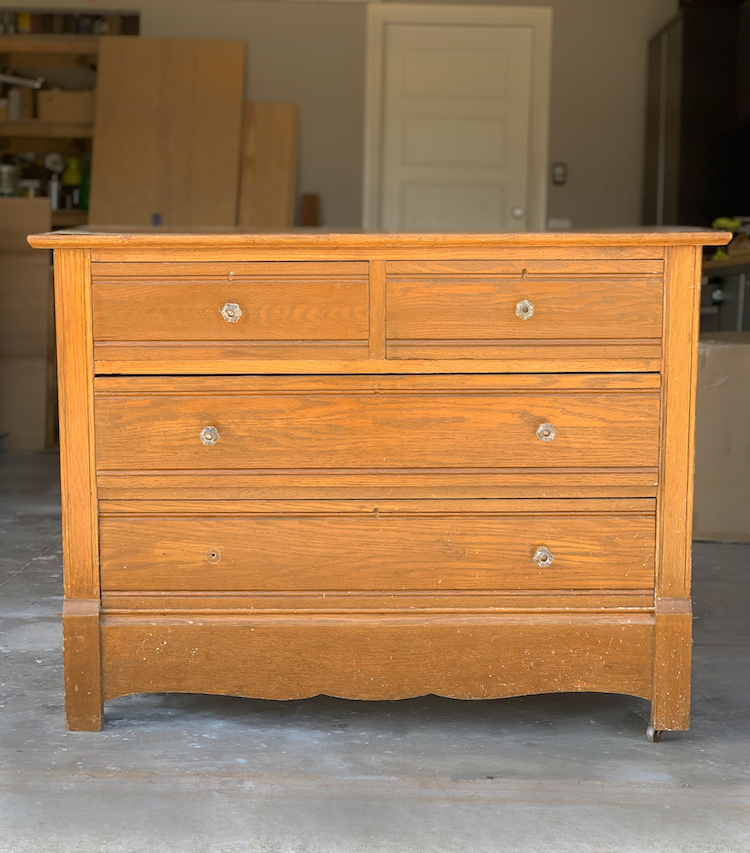
Lately, I have been working on my master bedroom refresh and needed a dresser to complete the look. Luckily, while browsing online, I was able to find this incredible piece of furniture. I knew with a little love, it would be the perfect addition to my bedroom.
I am happy to walk you through the process of how I gave my dresser a refresh and hopefully it inspires you to dust off that old piece in your house!
Materials Used
First, things first, I had to gather all of the materials I needed to get this dresser looking great again.
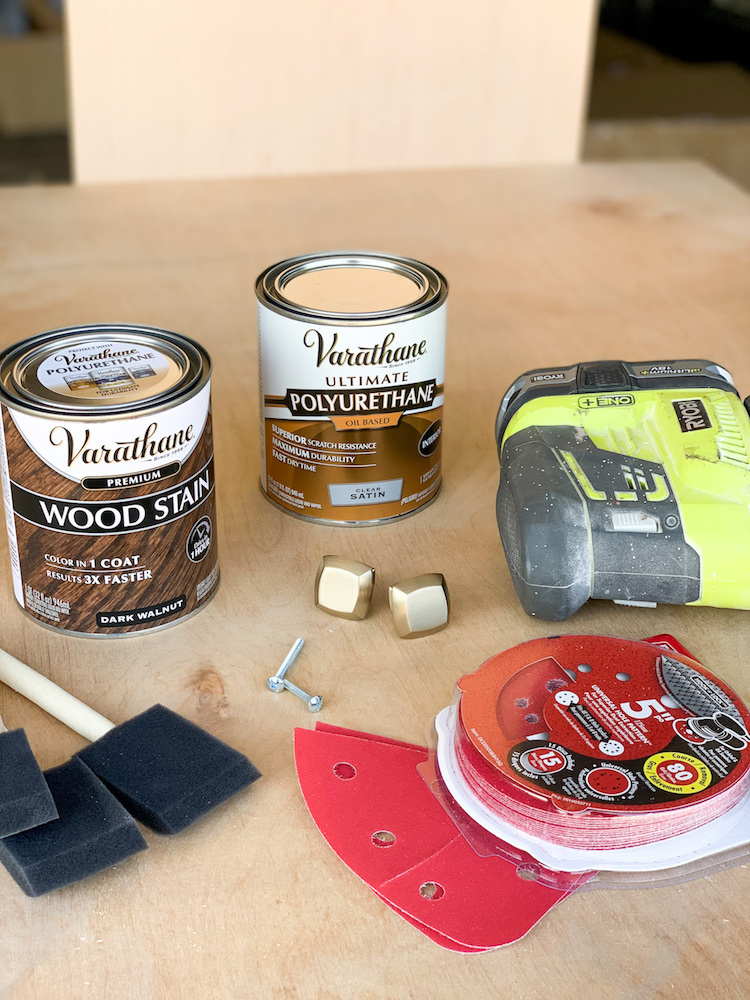
Step 1: Furniture Prep
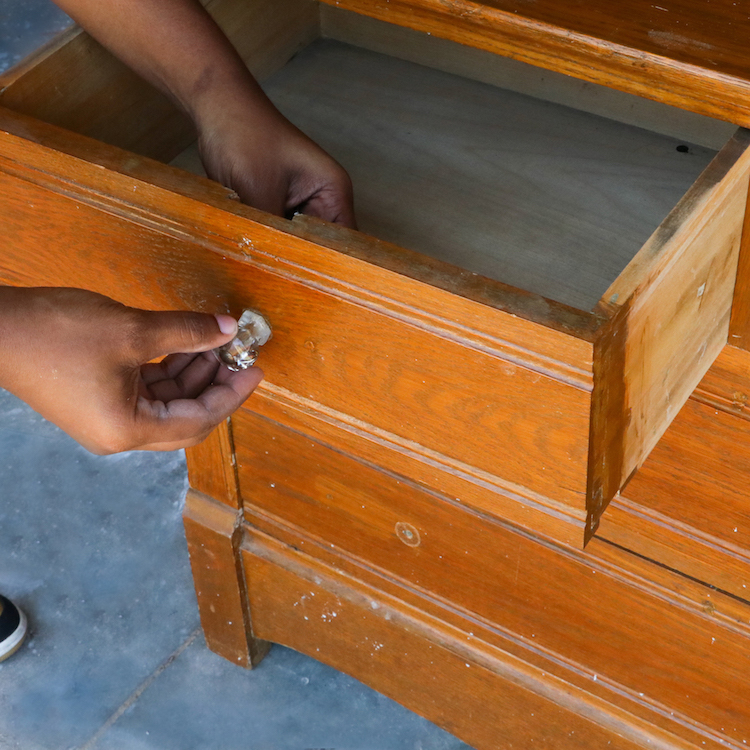
Once I had all of my materials gathered, it was time to prep the piece for stain. The first thing I did was remove all of the hardware from the furniture piece. I took off all of the drawer knobs and took off the little metal casters on the bottom.
It was evident that the dresser had some sort of top coat and stain on it, so I knew I wanted to strip the dresser completely down, so that the new stain could adhere well to the furniture piece. I first went in with my disc sander with 80-grit sandpaper to get the existing finish off.
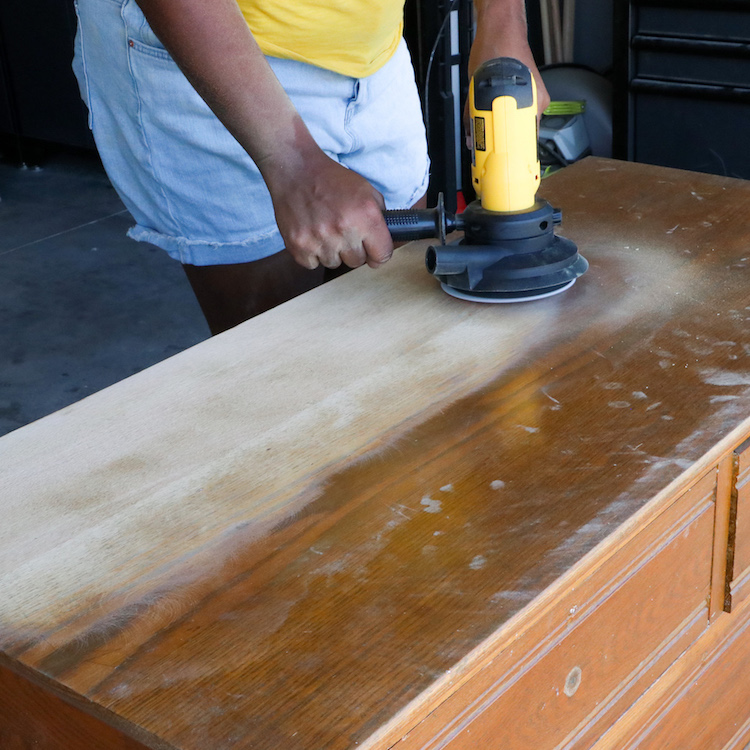
I opted to use my disc sander because they are super powerful, they take the finish right off; you do want to make sure you are taking your time when sanding and not pressing down to hard, to prevent rings in your furniture, but the disc sander will get the job done.
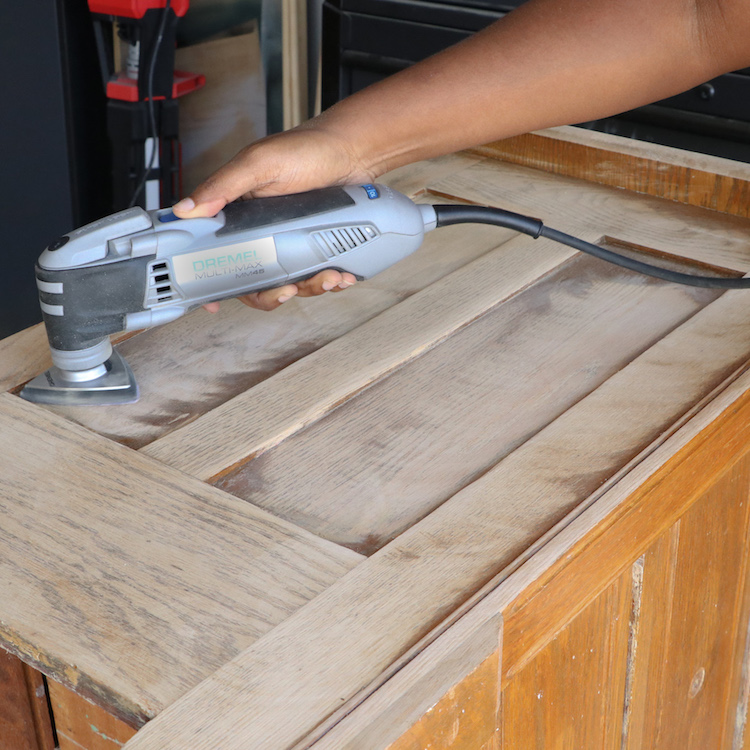
There were a few trim pieces on my piece and some corners on the sides that I couldn’t get with my disc sander, so I used my Corner Cat Sander and Dremel MultiMax to get into those tight corners. I love using my Dremel because it comes with so many cool attachments to help with jobs like these.
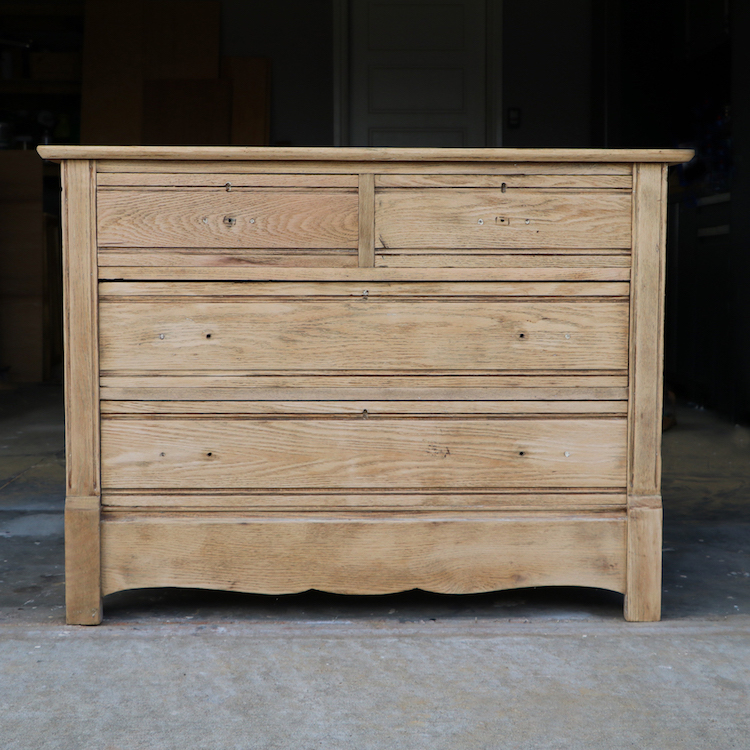
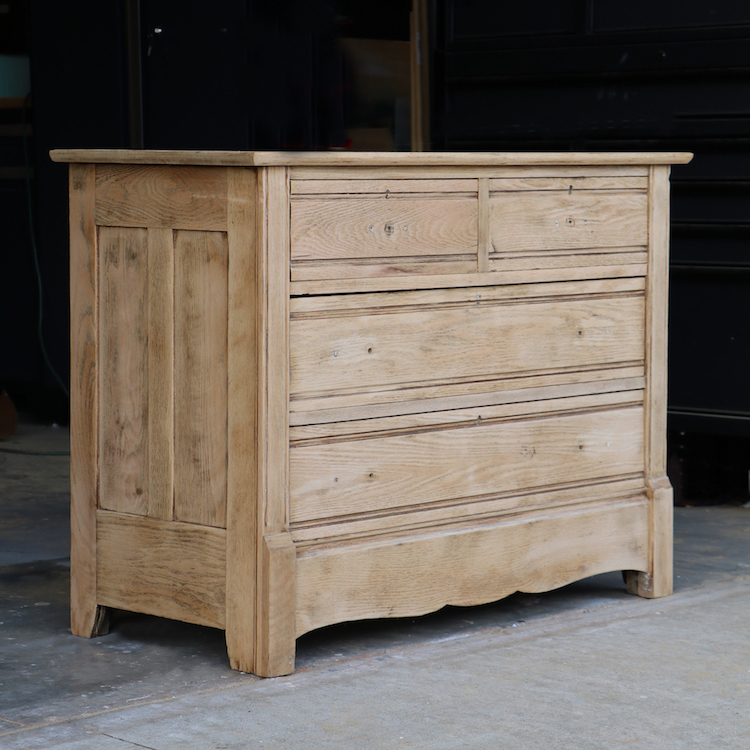
Once I got all of the finish sanded off, I was amazed at how good the dresser looked with the natural wood, I almost wanted to leave it that way. I knew at this point that the project was going to turn out great.
After sanding it all down with 80-grit, I went back through and sanded it down with 220-grit sandpaper to smooth out the surface.
Step 2: The Staining Process
Now for the fun part; the staining process. It took me a while to decide which color I wanted to go with at first, and I almost went with weathered grey but decided that the Varathane Premium Dark Walnut would go better with my bedroom decor.
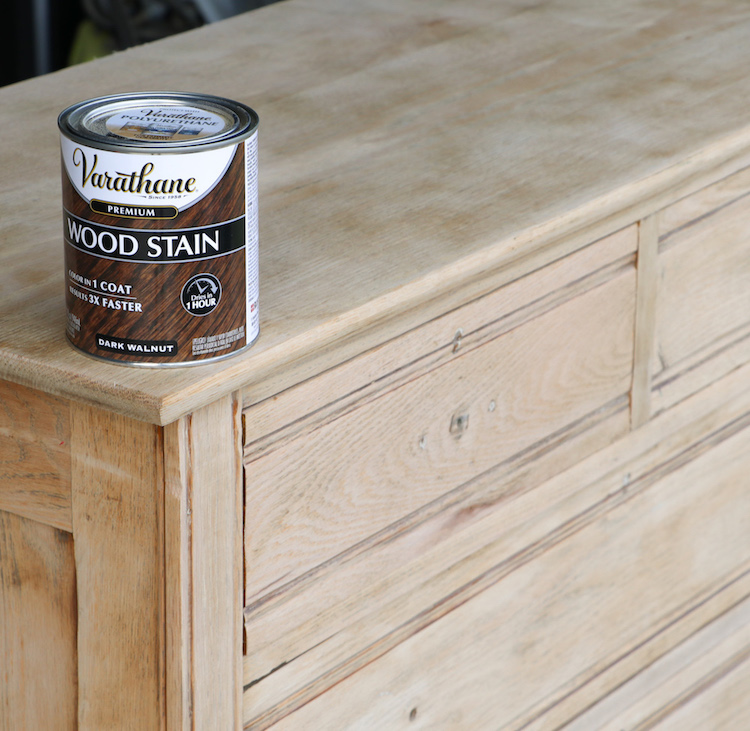
The best part about this wood stain is that it doesn’t require a wood conditioner; a step I normally do when building furniture. It also has a one hour dry time, which for me was appealing because I can’t get my furniture in the house fast enough once its dry.
Before staining. I made sure to blow off any sawdust from the sanding and wiped down the dresser with a damp rag and then let it sit to dry and I was ready to get to staining.
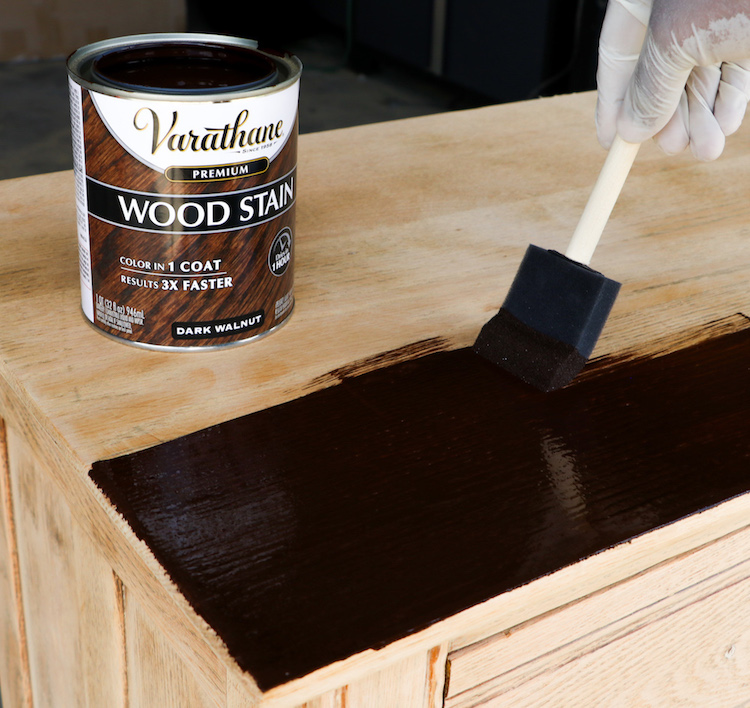
When you open your stain, you want to make sure to stir it up really well. This will ensure all of the particles are mixed well and you’re ready for application.
I opted to use a foam brush to apply the stain because it makes it really easy and less messy.
You will want to apply a nice coat on your piece. When I dipped the foam brush into the stain, I quickly noticed that it was really thick; I knew that the one coat coverage was going to do the job.
After applying the stain, I let it sit for around 5 min. The longer you let the stain sit, the richer the stain will be. After letting it sit, I used an old rag to wipe off the excess stain. This step is very important; you want to make sure you don’t leave all of the stain on the dresser. Or else your piece will be sticky and blotchy.
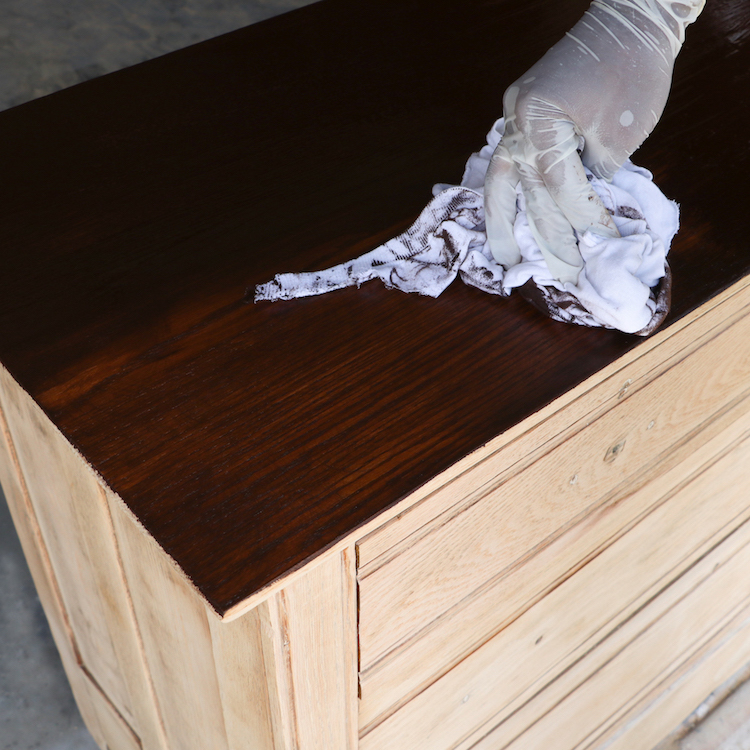
I went through in sections and applied the stain all over the dresser. I would stain one side and then wipe that side off and proceed to the next side. You want to make sure you apply your stain in sections, to ensure a nice even look.
Once I finished staining the outer part of the dresser, I knew I had went with the right color choice. Varathane Premium Dark Walnut stain was so rich.
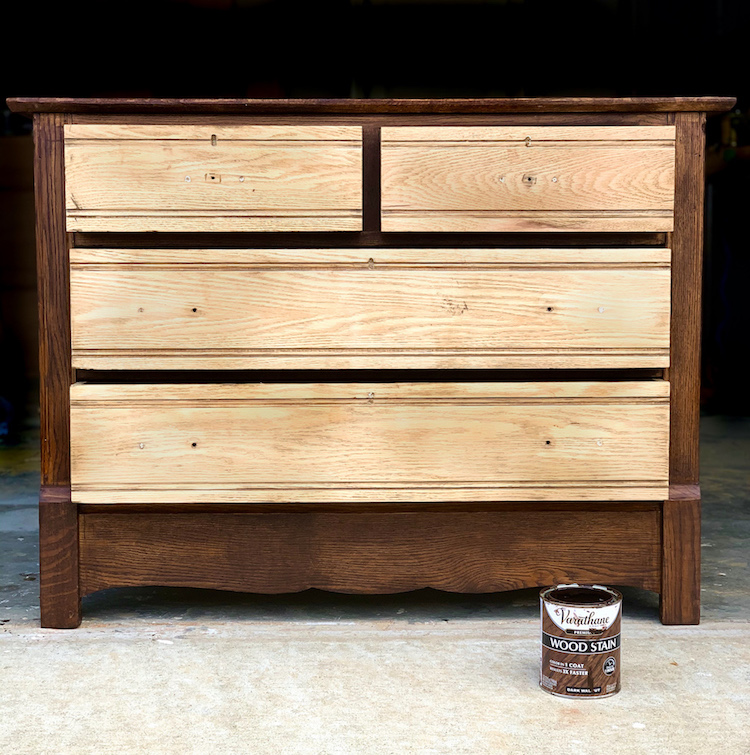
After staining the outer part of the dresser, I almost went with the two-tone look because the stain looked so pretty with the natural wood. But decided against it and began staining the drawers. The foam brush really made the application easy with the trim on the doors.
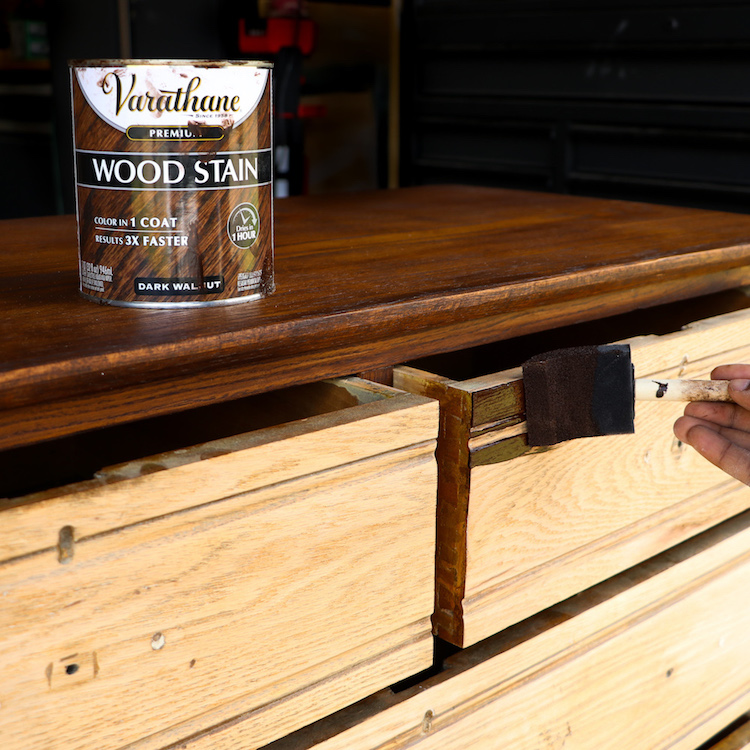
After staining the dresser, I let it sit for an hour to dry and man was it looking good. I decided to put one top coat of polyurethane for protection and added on some golden knobs to give it a fresh look.
The Transformation
This Varathane Premium wood stain really brought my dresser to life and it looks amazing in its new little corner. I love how easy it was to transform this old piece and give it a fresh new look.
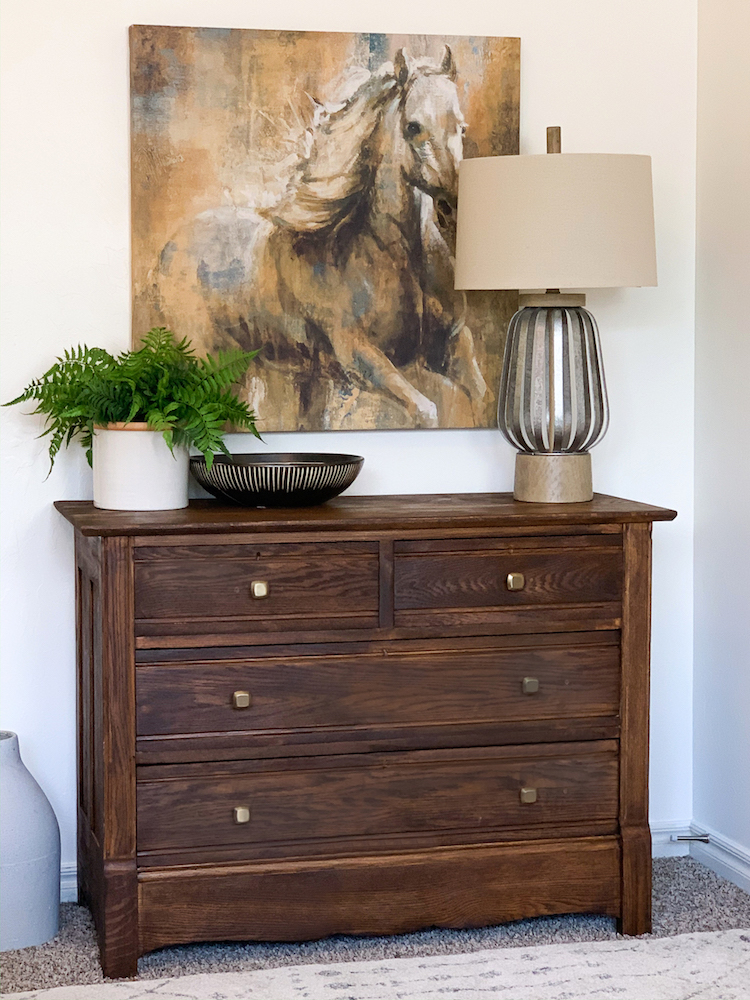
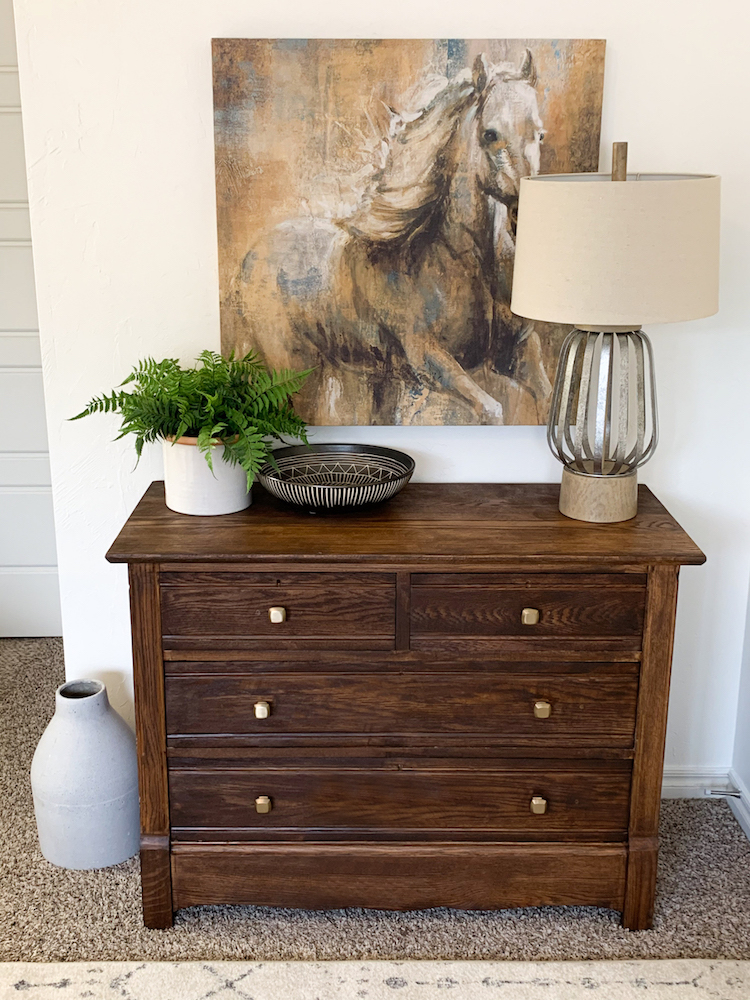
If you are thinking of transforming an old dresser, Varathane Premium Wood Stain can get the job done.
The post Dresser Transformation with Varathane Premium appeared first on The Home Depot Blog.


