DIY Dutch Door Tutorial with Schlage Smart Lock Install
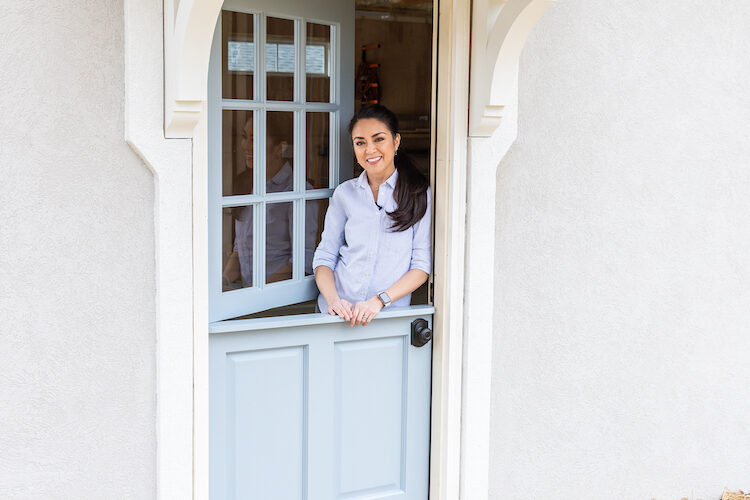
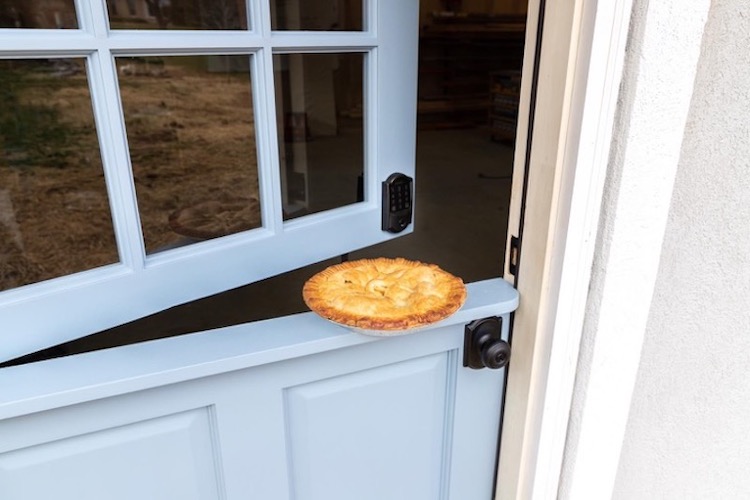
Well, hey there neighbor! Jen Woodhouse here and I am so excited to share my DIY Dutch Door featuring the new Schlage Encode Smart Door Lock! Isn’t this Dutch door the most inviting thing ever? It makes me want to wear an apron and bake pies all day just so I can let them cool on the ledge! I mean, I don’t even own an apron, but now I’m going to have to get one! And guess what… this DIY Dutch Door is not a hard project, it’s surprisingly easy to do! Read on to see how I did it.
What is a Dutch Door?
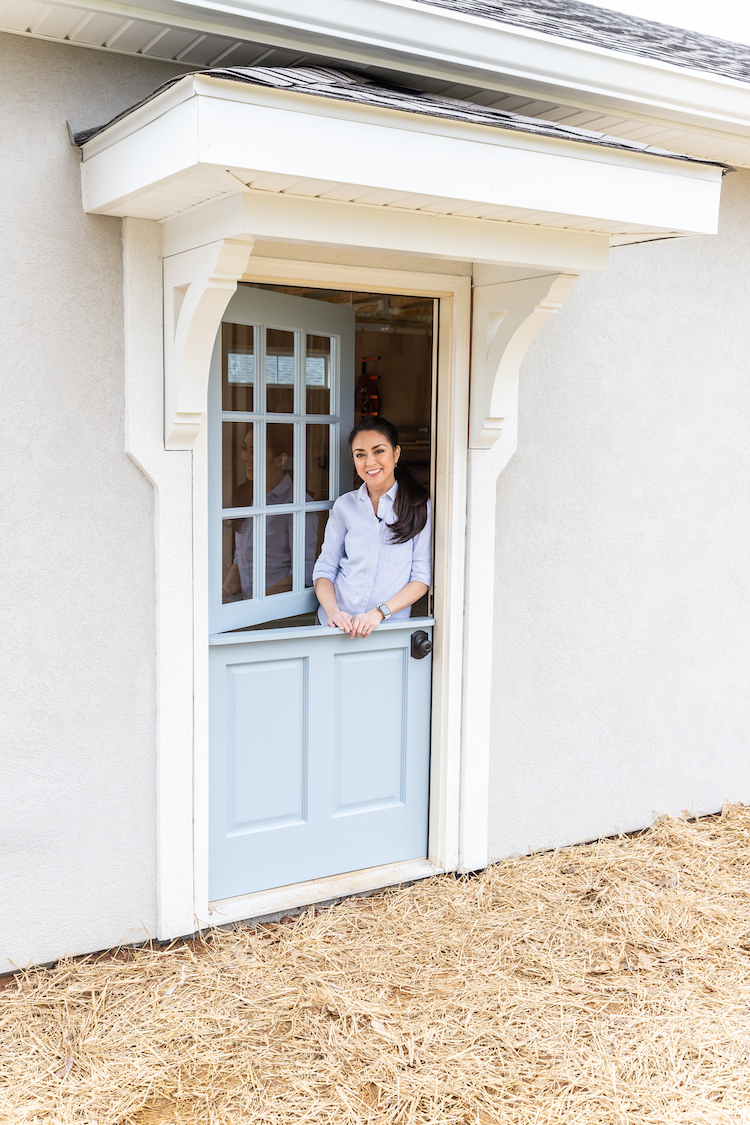
A Dutch door is sometimes called a half-door or a stable door and basically, it’s a door that’s divided horizontally so that each part operates independently of each other. It can also be latched together so that it works like a traditional door. Dutch doors have been around since the 17th century and primarily served to let the fresh air and sunlight in, while keeping the farm animals that were usually milling about, out of the house. It’s such a charming old-world architectural detail. I love being able to watch my kiddos play in the yard and have my neighbors stop by to say hello – I just love it so much!
Buy vs. DIY
We recently built my detached workshop and I knew I wanted a Dutch door for it; however, store-bought, ready-made Dutch doors are ridiculously expensive. The ones I found online were around $1,500. No, thank you. I picked up a solid wood exterior door from The Home Depot for a little over $200 – just another reason why I love DIY!
A hollow core door doesn’t work as well for this project because when you cut it in half, you’ll have to fill that hollow space somehow. It’s still possible, but not ideal, especially for an exterior door, so if you can, try to use a solid door.
Standard doors typically have 3 hinges total, so if you’re converting an existing door to a Dutch door, you’ll need to add one more hinge so that both the top and bottom parts of the door are well-supported. Each part should have 2 hinges total.
My door didn’t have any hardware on it at all. It was a complete blank slate so I added all four hinges, as well as the doorknob and a barrel bolt. I used a router to rout a mortise for the hinges. I shared a video of this on my Instagram stories and saved it to my highlights, called “Dutch door” so you can check that out if you’d like. And I’d love for you to follow me on Instagram if you’re not already! I usually share sneak peeks of upcoming projects and behind the scenes content.
Determine Hardware Placement
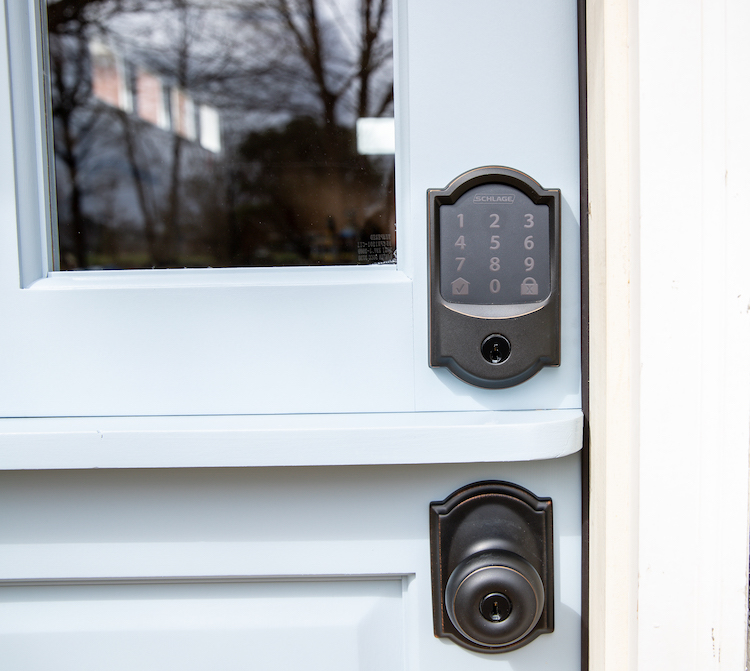
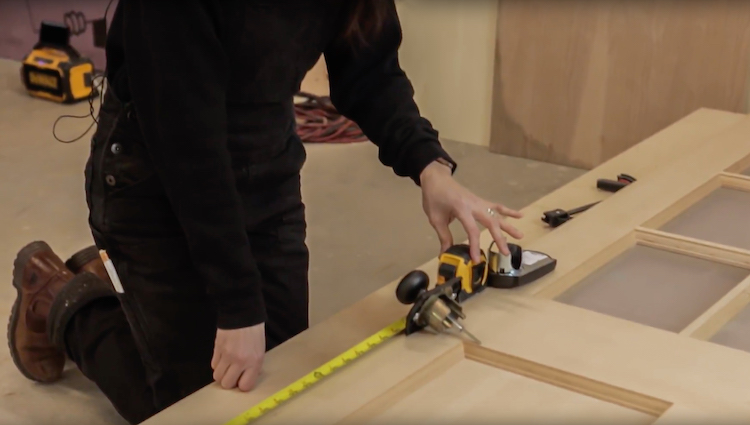
I wanted a keyless smart lock for this door, so I was thrilled to partner with Schlage and try out their new Encode Smart Door Lock. The first thing I had to do was figure out the best placement for all of the hardware. Because this is an exterior door, I added a locking mechanism to both parts of the door for added security. I decided to put the Schlage smart lock deadbolt on the top part and a locking doorknob on the bottom. Once I figured out where the hardware would go, I could determine where to cut the door in half.
Cut the Door in Half
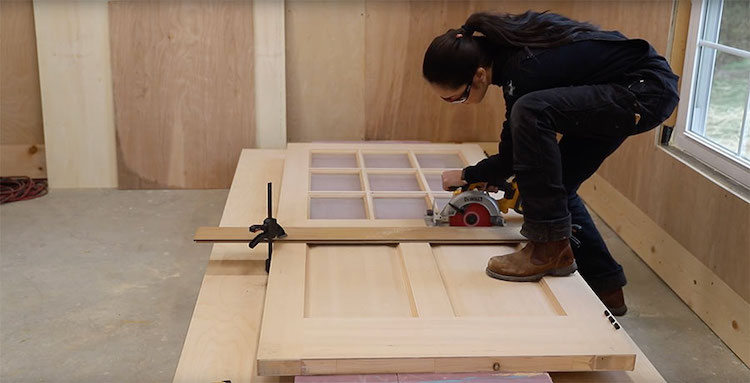
I laid the door down so I could measure, mark my line, and make the cut. Then I used a circular saw with a general purpose saw blade to make the cut, clamping a straight edge as my guide. Cutting my beautiful, brand new door was, by far, the most stressful and challenging part of this project.
I also wanted to add a ledge, so I had to make an additional cut. The ledge is ¾ of an inch thick, so I measured and made a second cut to allow space for the ledge. The ledge is a 1×4 board cut to match the width of the door. Then I used a jigsaw to cut a curve on each end. I also had to notch out a space so that the ledge would fit in the door jamb.
Okay…The hard part is done! Everyone can breathe easy now.
Cut Holes for the Door Locks
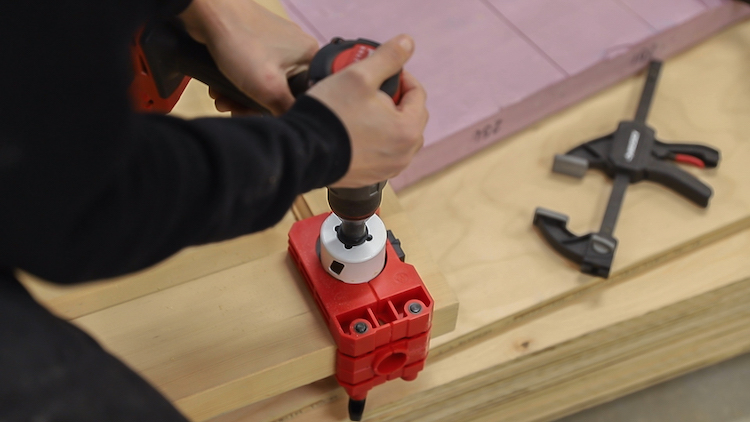
Now it’s time to get the door ready for hardware. If you’re using an existing door, of course, you’ll already have the door knob installed, so your job will be even easier! I used a door lock installation hole saw kit to cut the holes for the doorknob. This jig was super easy to use – the directions were very clear. You just clamp the jig in place, put the hole saw onto the drill and use the guide to bore the holes. Using this jig took the guesswork out of this part.

Attach Ledge
Next, we put the door back on its hinges so that we could install the deadbolt and doorknob. But first, let’s attach the ledge. I applied wood glue to the door, set the ledge on top, then pre-drilled the pilot holes. I attached the ledge with glue and screws, making sure to countersink the screw heads so that I could hide them with wood filler.
Install the Schlage Smart Lock
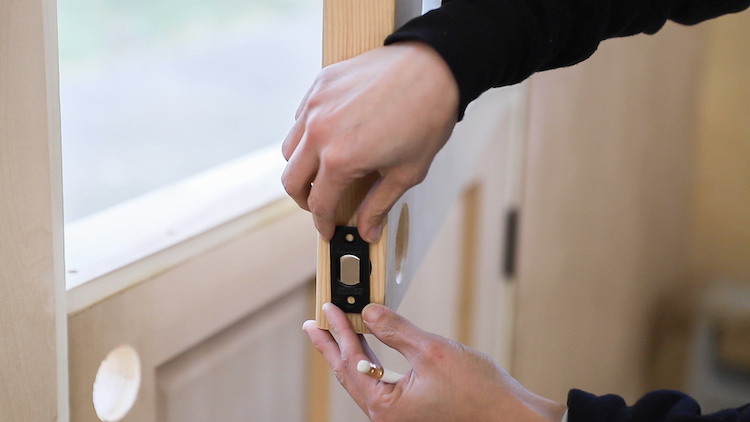
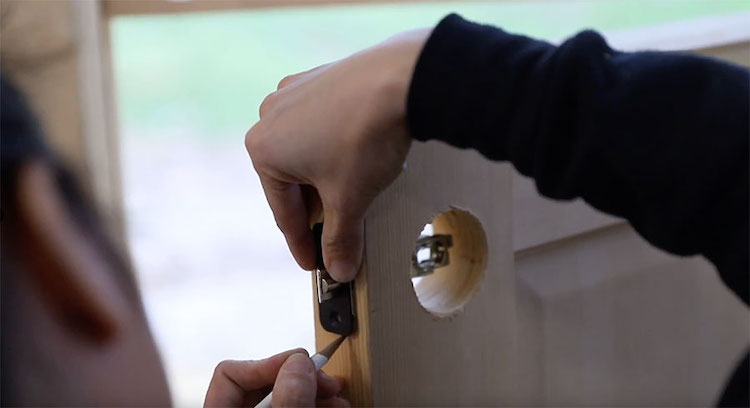
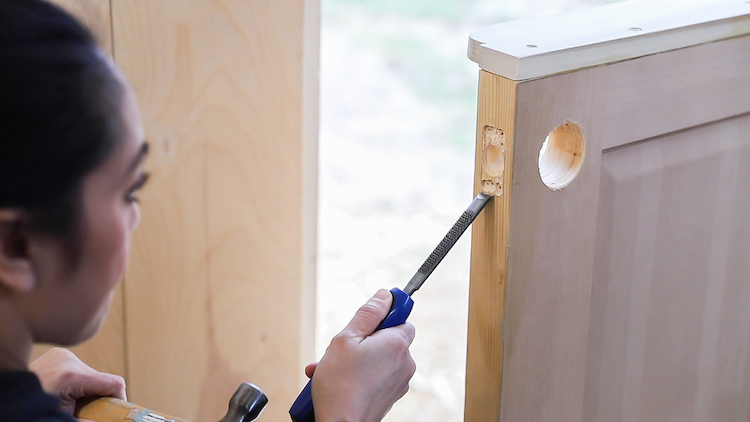
Now we’re ready to install the locks. I inserted the latch, traced the outline and used a chisel to carve out a mortise for the latch so that it’s able to sit flush with the edge. Then I screwed the latch on.
Now we have to figure out where the latch strikes on the door jamb so we can prepare the jamb to accept the deadbolt. Here’s a clever little trick: put a little glue on the deadbolt, then close the door, and turn the lock. The glue will create a “stamp” on the door jamb, which will tell you exactly where you need to bore the hole in the jamb! Pretty smart, right?
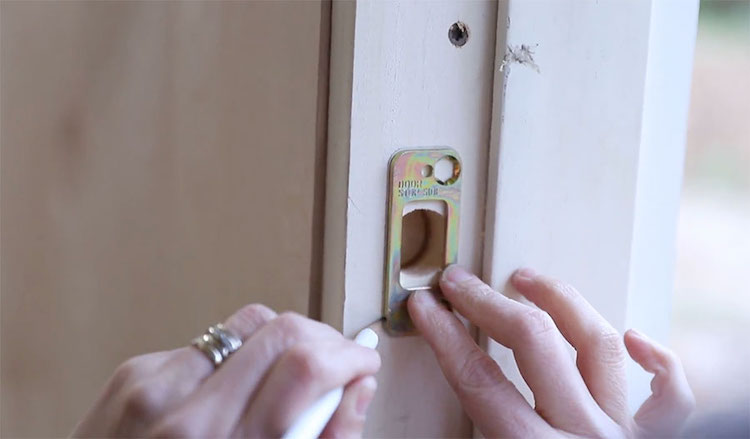
Then I drilled the hole in the door jamb and placed the strike plate. I traced the outline so that I could chisel out a mortise so that the strike plate sits flush as well.
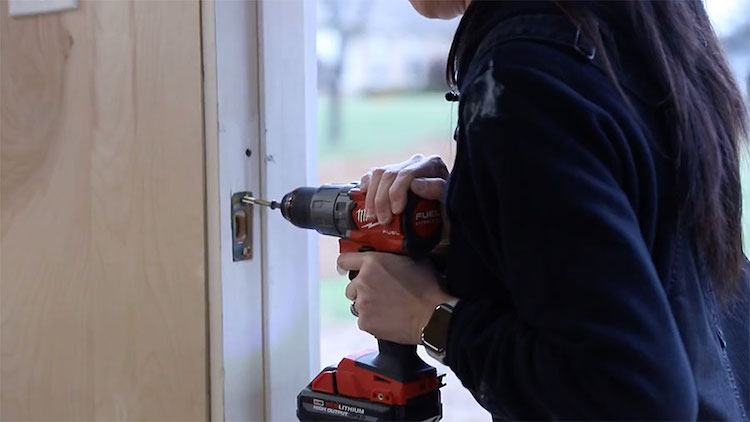
The Schlage smart lock comes with a couple of longer, additional screws for added security, which I love. I screwed the strike plate onto the door jamb and gave the deadbolt a test run. I had to make some minor adjustments until everything fits just right. Then I just followed the directions on how to install and program the smart lock – it was pretty straightforward and the capabilities are really cool.
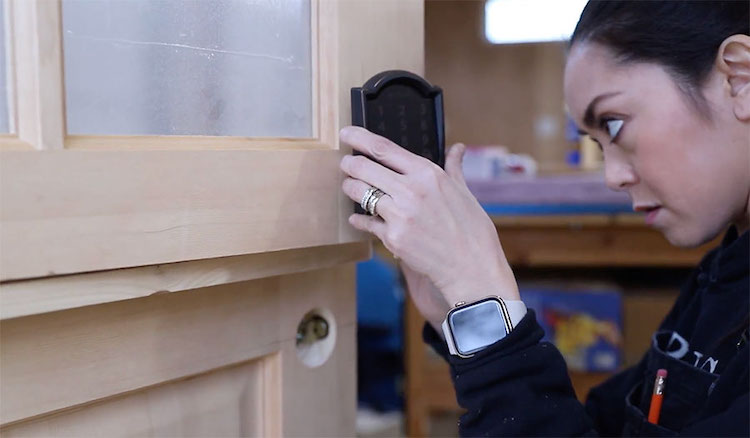
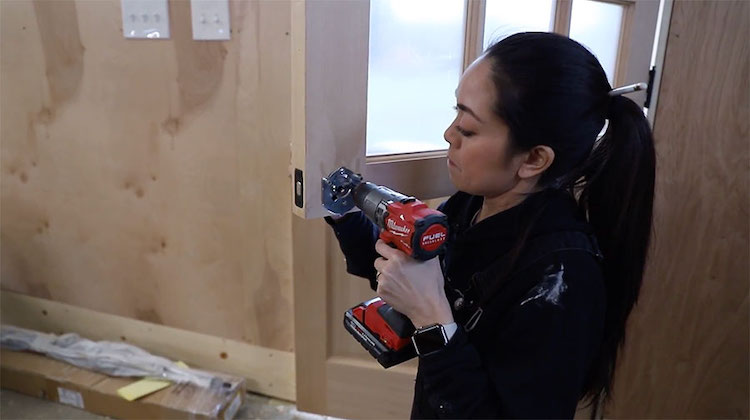
Okay, moving onto the bottom hardware… I did the same thing here: inserted the latch, mortised out the door and the door jamb, then screwed the doorknob on.
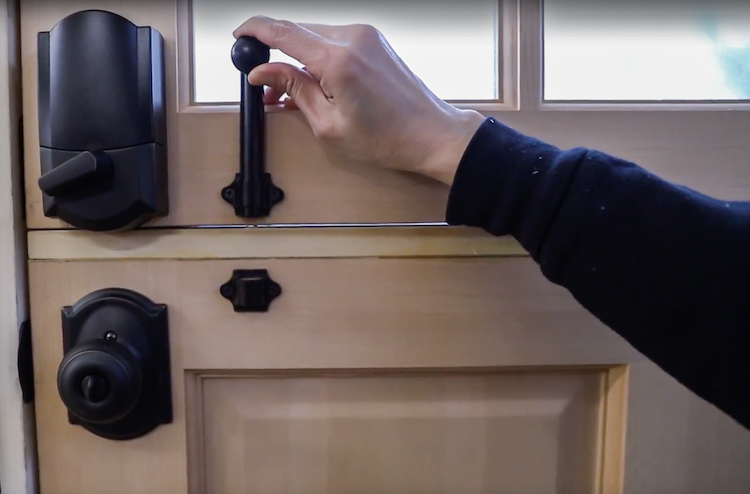
Finally, we’ve got one last piece of hardware to attach. This Dutch door barrel bolt will keep the top and bottom parts of the door secure. I figured out the placement, then just screwed it on! Super simple. Finally, we added some weather stripping to the door jamb and called it done!
Schlage Encode Smart Lock Features
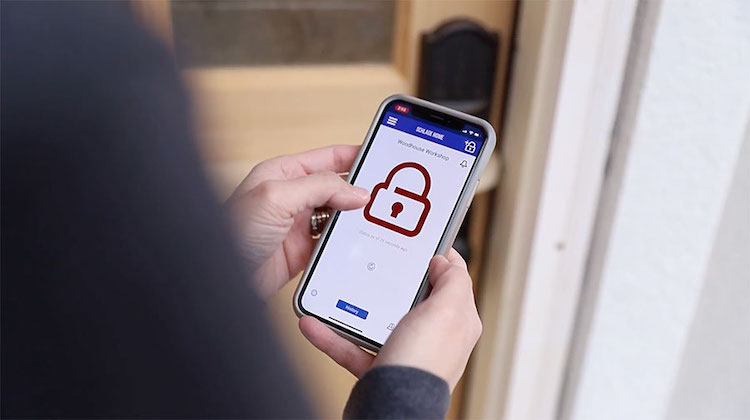
The Schlage Camelot Encode Smart Door Lock with Alarm is a keyless deadbolt with built-in Wi-Fi and secure encryption that allows me to manage my smart lock remotely via the Schlage Home app on my smartphone. I can easily lock and unlock my Dutch door through the app as well as from the touchscreen. I can also program and store up to 100 access codes and schedule them to work on the days/times that I choose.
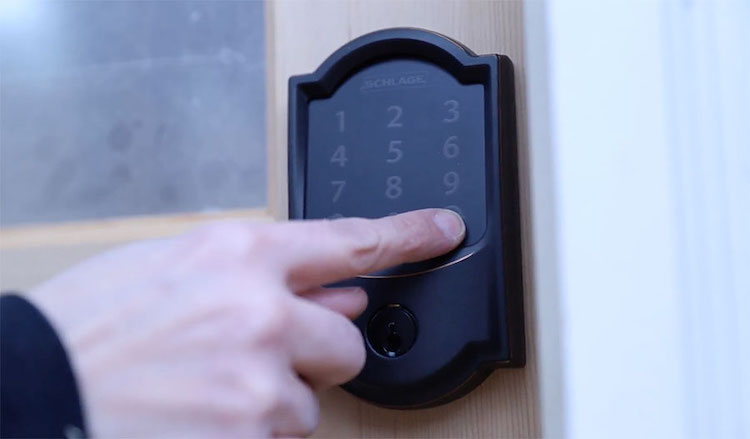
The smart lock also records a history of each operation, so I can quickly see who’s been coming and going at any given time or day. There’s also a built-in alarm on the lock that sounds in case of a security breach.
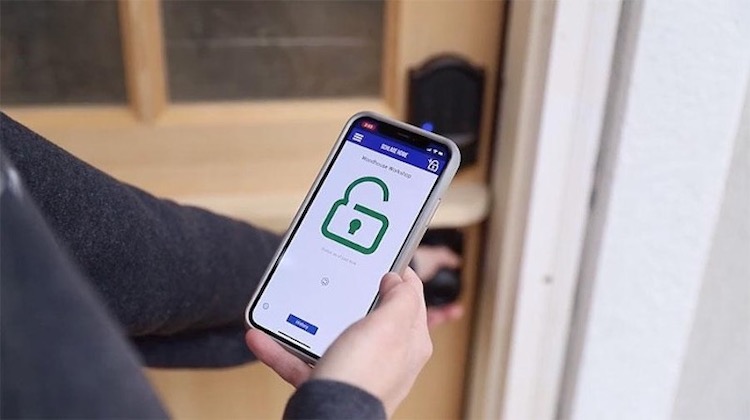
This smart lock makes my life so much easier because I don’t have to fumble around with keys! I can enjoy the peace of mind knowing that my workshop is well-protected.
And that’s it! The hardest part was cutting the door in half, right?! I am so happy about my DIY Dutch Door. Doing it myself saved me over a thousand dollars, and I was able to really customize the door for my space. I absolutely love the added flexibility and functionality of my workshop!
Now, then. Who wants pie?
The post DIY Dutch Door Tutorial with Schlage Smart Lock Install appeared first on The Home Depot Blog.


