How to Add Decorative Moulding to a Bathtub
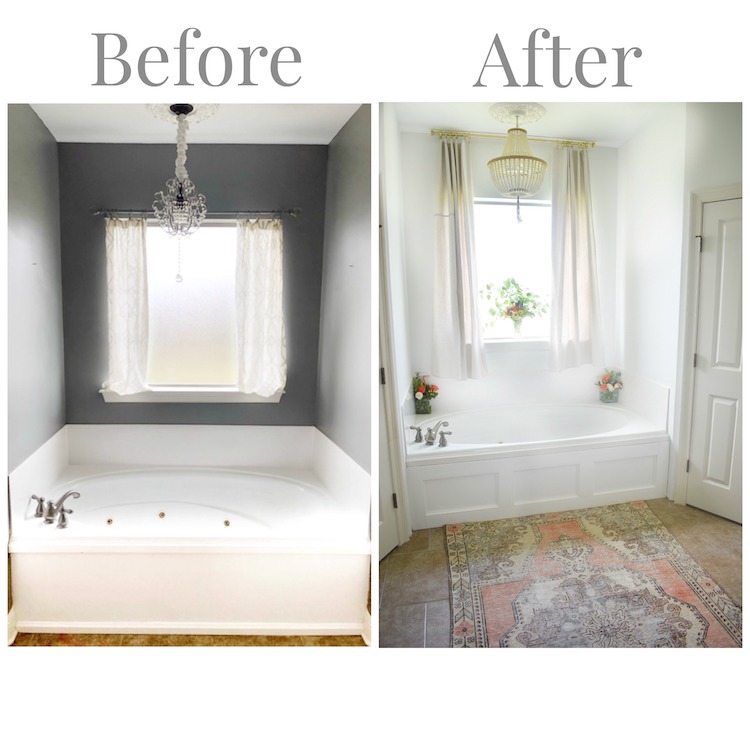
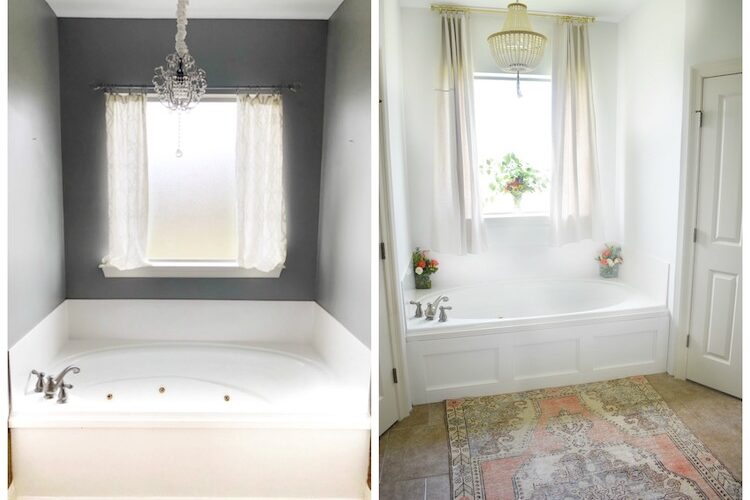
Decorative moulding on the front of a bathtub adds an instant facelift to an outdated tub and really improves the overall look of a bathroom. Read on to see the full tutorial on how to easily add moulding to a bathtub and give it the makeover it needs!
Step 1: Prep
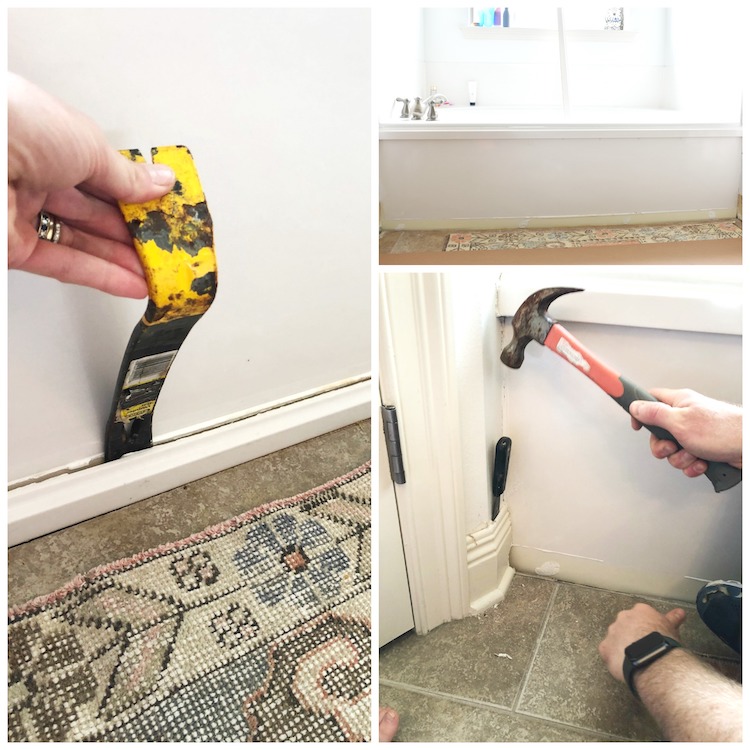
Using a putty knife, hammer, and pry bar, remove all existing trim or moulding pieces from the surface of the bathtub that you do not plan to use for this project. Make sure to also remove any baseboards that sit flush with the front of your bathtub and may get in the way of applying the new moulding (optional side note – save these baseboards for later as they may be reused again during Step 8). Clean the surface area of your bathtub well to remove all dust, stains, paint drips, and/or old glue on the surface of your tub where the new moulding will go. This is to ensure that the glue adheres to the bathtub properly.
Step 2: Tile Board
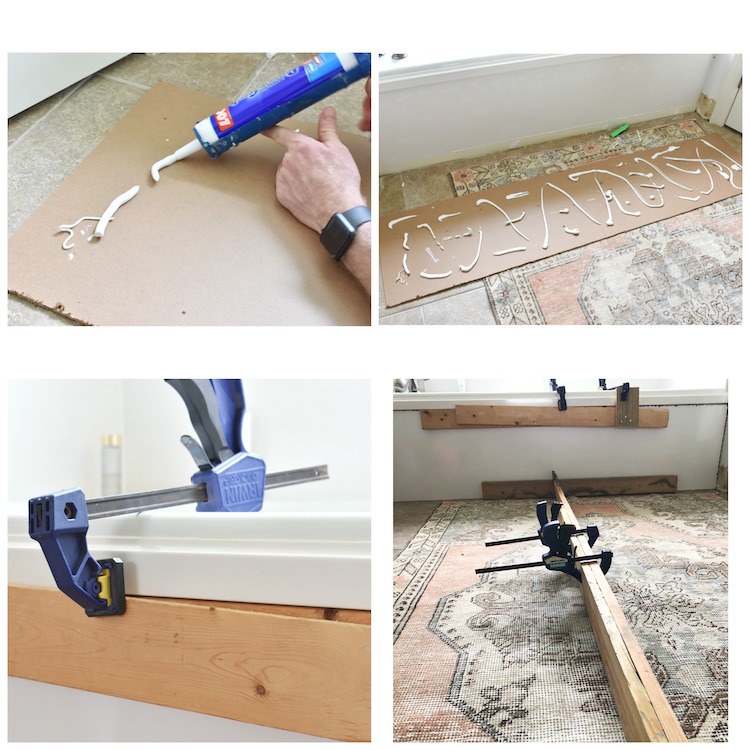
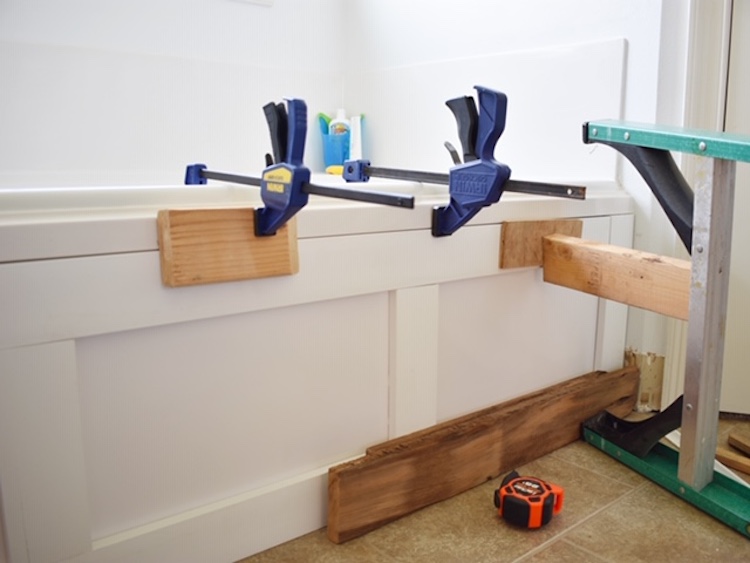
Measure the surface area of where your tile board is going to go. Cut the tile board according to your measurements using an oscillating multi-tool. Glue the tile board on the flat surface of your tub using Loctite Power Grab glue and a caulk gun. Spread an entire tube of the Loctite Power Grab glue evenly on the back of the tile board before pressing it to the surface of your tub. Reinforce the tile board in place to prevent sagging by using clamps if applicable. If clamps do not fit on the configuration of your bathtub, use heavy pieces of furniture or scrap pieces of wood laying around to secure the tile board in place. Let cure for 24 hours. Pro tip – place a piece of scrap wood in between the tile board and clamp to hold in place and allow clamp to fit over the bathtub. (see photo).
Step 3: Measure and Cut Vinyl Moulding
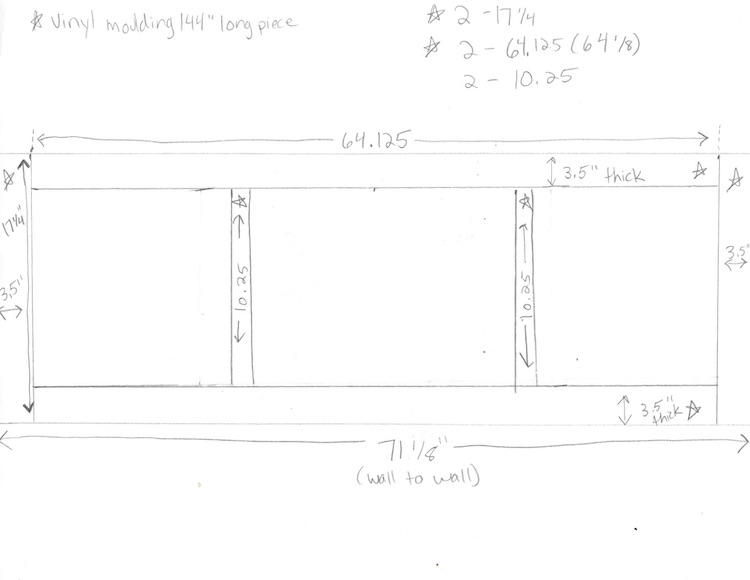
Using the measurements of your bathtub combined with the dimensions of the vinyl moulding, draw out a diagram of how your bathtub is going to look. This will allow you to determine how long each piece of vinyl moulding needs to be and where to make your cuts. Cut six vinyl moulding pieces according to your measurements using a miter saw (see diagram above labeled with stars). Suggestion: cut one piece at a time and make sure it fits in place incase your bathtub is not perfectly level. You may need to go back and make some minor adjustments. I had to do this a few times with a few pieces as our bathtub had settled unevenly. Measure twice, cut once!
Step 4: Glue Vinyl Moulding
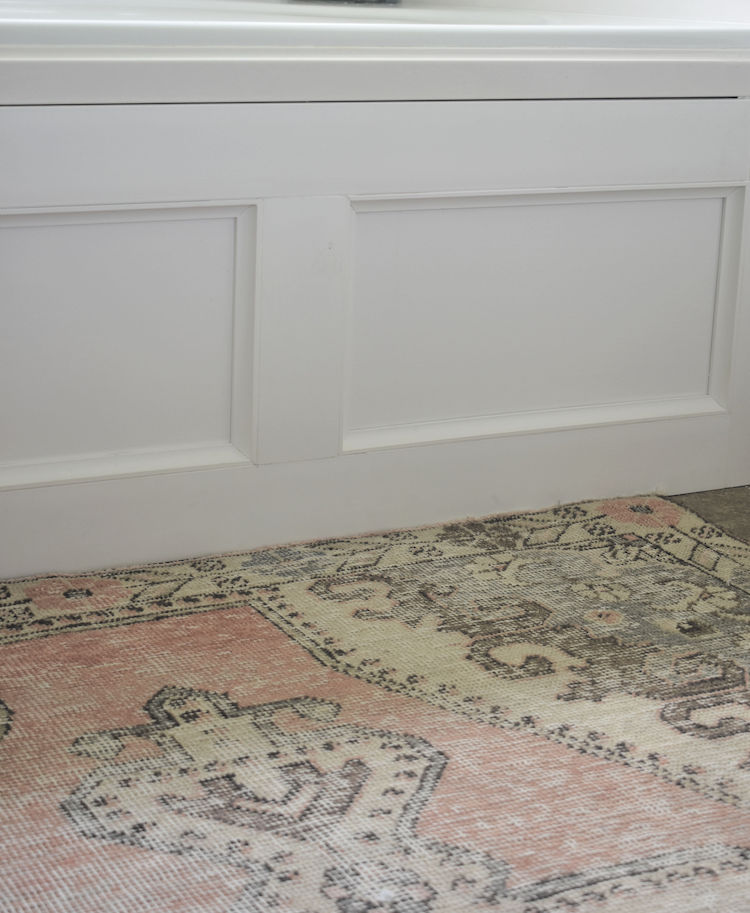
Glue each piece of cut vinyl moulding to the tile board in order to create the three-panel design. (see photo). Secure the moulding pieces in place using clamps and/or extra pieces of wood.
Step 5: Measure, Cut, & Glue Interior Trim
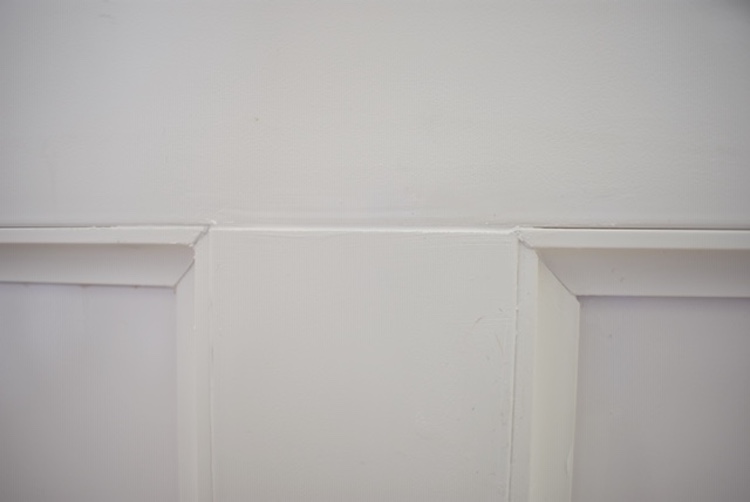
Measure four interior sides of rectangles created by vinyl moulding to finish out with trim (see photo). Cut trim pieces according to measurements.
Step 6: Caulk
Caulk any cracks that remain using Silicone caulk. This will ensure that water does not seep in behind the moulding.
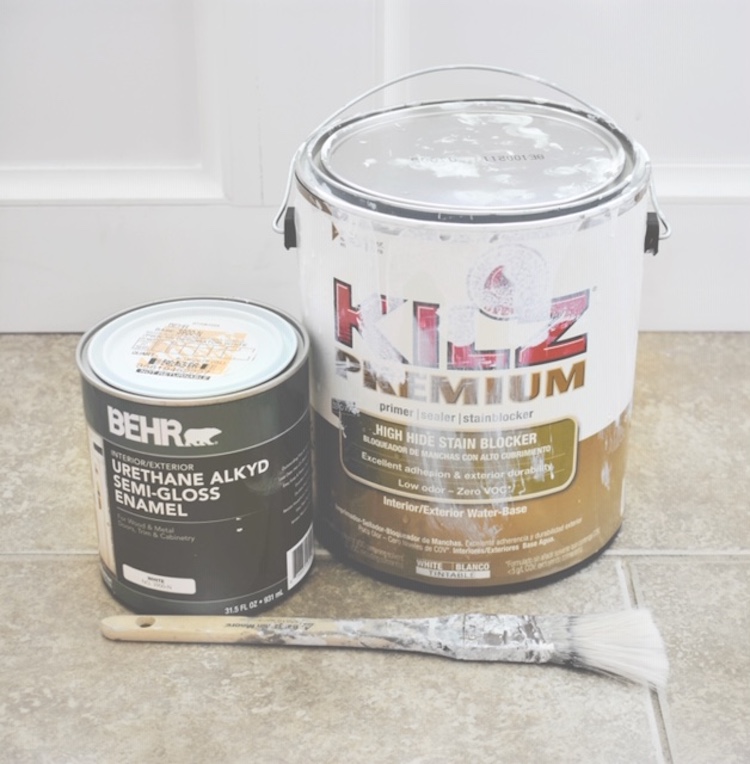
Step 7: Paint
Apply one coat of Kilz Primer over moulding area. Let dry. Apply one coat of Behr Urethane Alkyd Semi-Gloss Enamel paint in a desirable color over primer and let dry. Apply a second coat of paint if necessary.
Step 8: Add Back Baseboards (Optional)
Glue back any baseboards that were removed during step 1, if necessary. This step is “optional” because, depending on the size of your tub and surrounding walls. There may not be room left for old baseboards due to the new moulding added to the tub. If baseboards are added back to the surrounding walls, paint to match the new bathtub moulding.
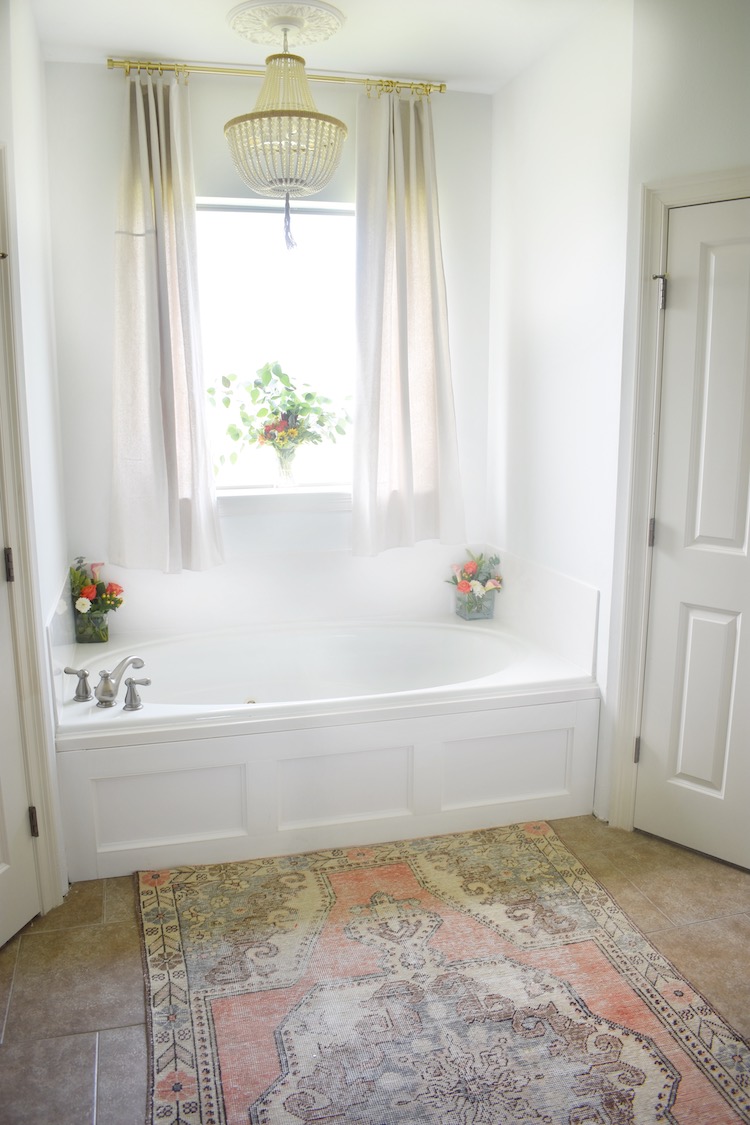
Now you can stand back to admire your beautifully new updated bathtub.
The post How to Add Decorative Moulding to a Bathtub appeared first on The Home Depot Blog.


